Tubelight – Personal Blog Free WordPress Theme
Welcome to our new personal blog free WordPress Theme “Tubelight” . In this section get step by step tutorial about Setup, Install and other for Tubelight. Tubelight is a nice-looking responsive WordPress theme for Personal Blog.The theme is developed with the modern features and technologies that a person needs if he wants to create a Personal Blog website.
First Steps
Before you start playing around with this free theme, let’s check what you’ve downloaded so far:
- Documentation – That’s where you
- License – Some info’s about theme licencing terms
- Upload – This is where all Theme files are (zipped & unzipped format)
Theme Installation
The first option how to install Tubelight WordPress Theme would be to directly upload the tubelight.zip file via WordPress Theme Uploader.
- Log into your WordPress back-end
- Navigate to Appearance > Themes
- Click Install Add New
- Click Upload Theme
- Now you just need to find the “tubelight.zip” in the Upload folder and hit Install now.
- After Installed then click Active Now
Theme Installation From FTP
The second option how to install this Theme would be the upload via FTP manager. It really dosen’t matter which of the two ways you choose, just choose the one you feel more comfortable with.
- Login to your FTP account and navigate to your WordPress Installation directory
- Navigate to the folder /wp-content/themes
- Upload the “tubelight” folder (not the .zip-file). This is the folder located inside the “Upload” folder in the zip-file you’ve downloaded from CodexCoder.
- Now log into your WordPress backend
- Navigate to Appearance > Themes
- Find the Theme and click Activate
Plugin Setup
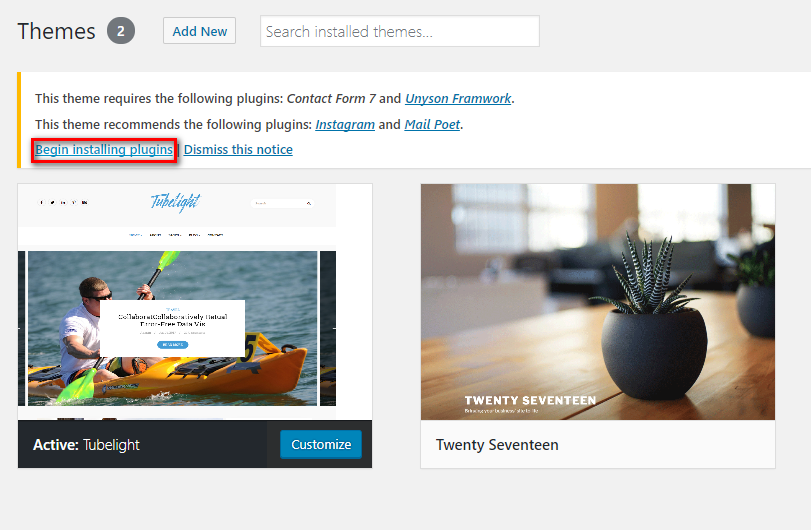
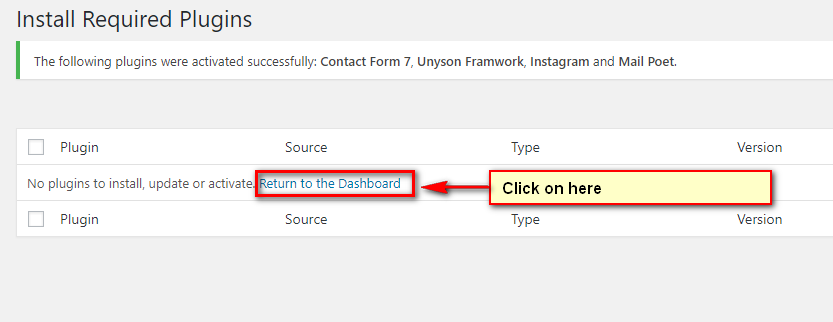
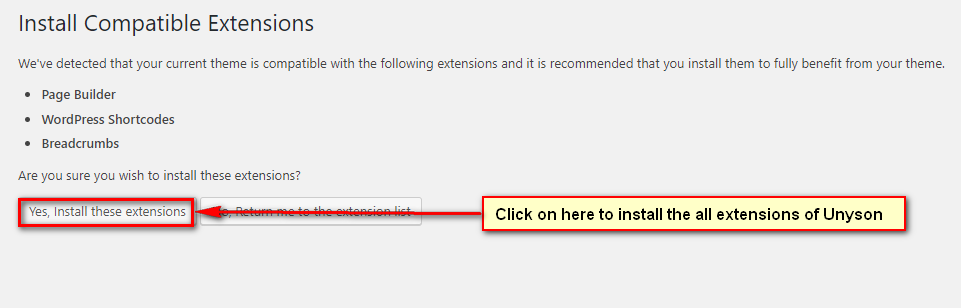
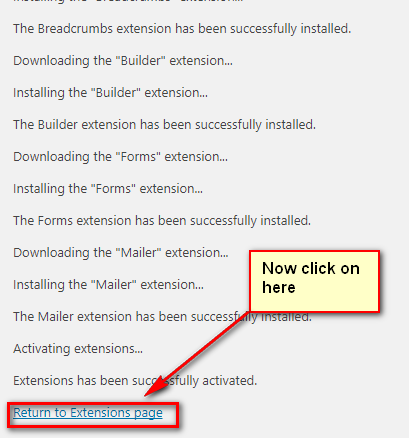
So at this stage you have probably noticed a warning, asking you to install recommended plugins. This is needed to get the Unyson Framework, Contact Form 7, Instagram and Mailpoet. Installing that is very simple, you just need to click Begin installing plugins and you will be redirected to the plugin installation page where you can install Plugins.
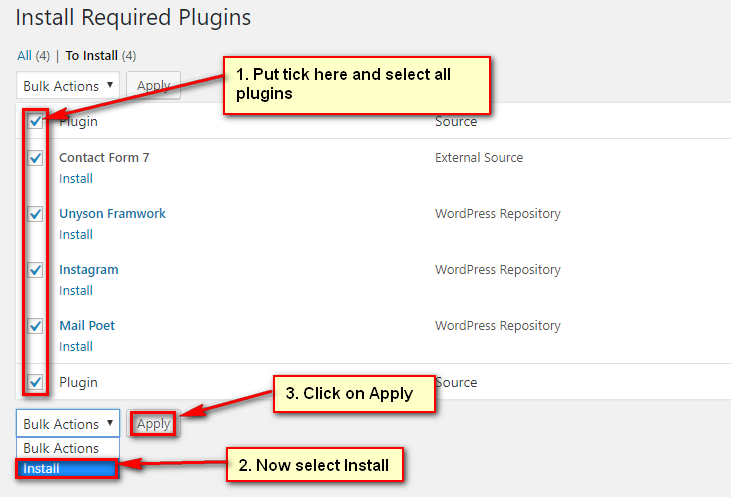
Click on Begin Installing Plugins and you will refer this page. Then select all plugins and select install from dropdown. Then install theme at a time.
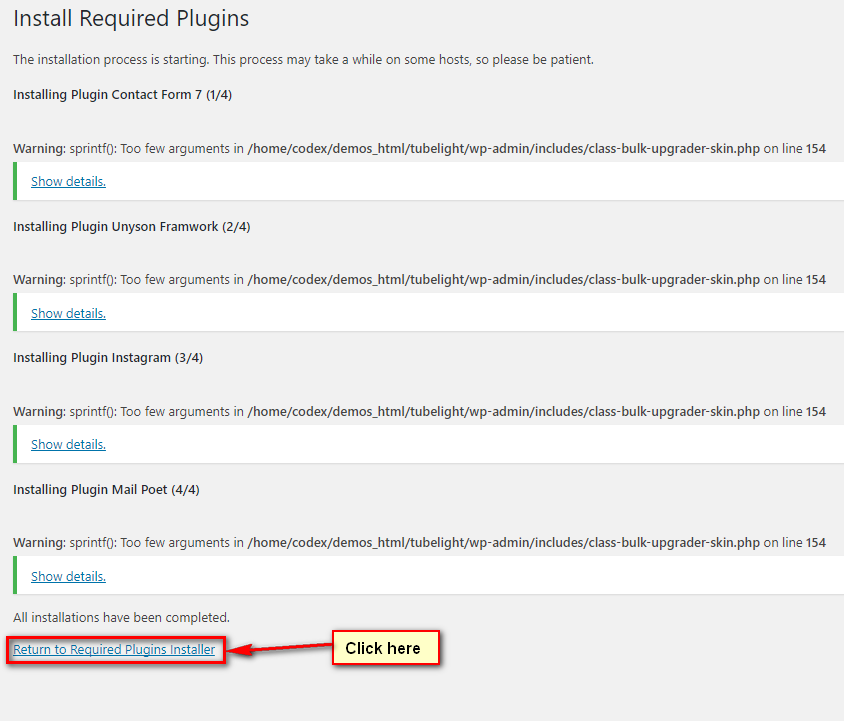
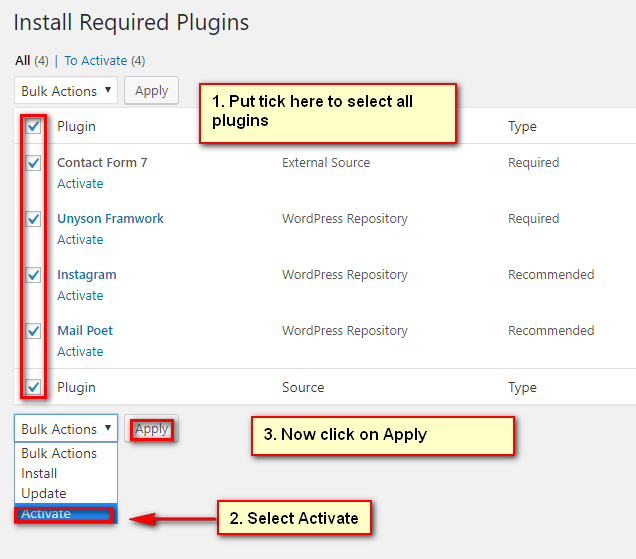
Now do as attached screenshots:
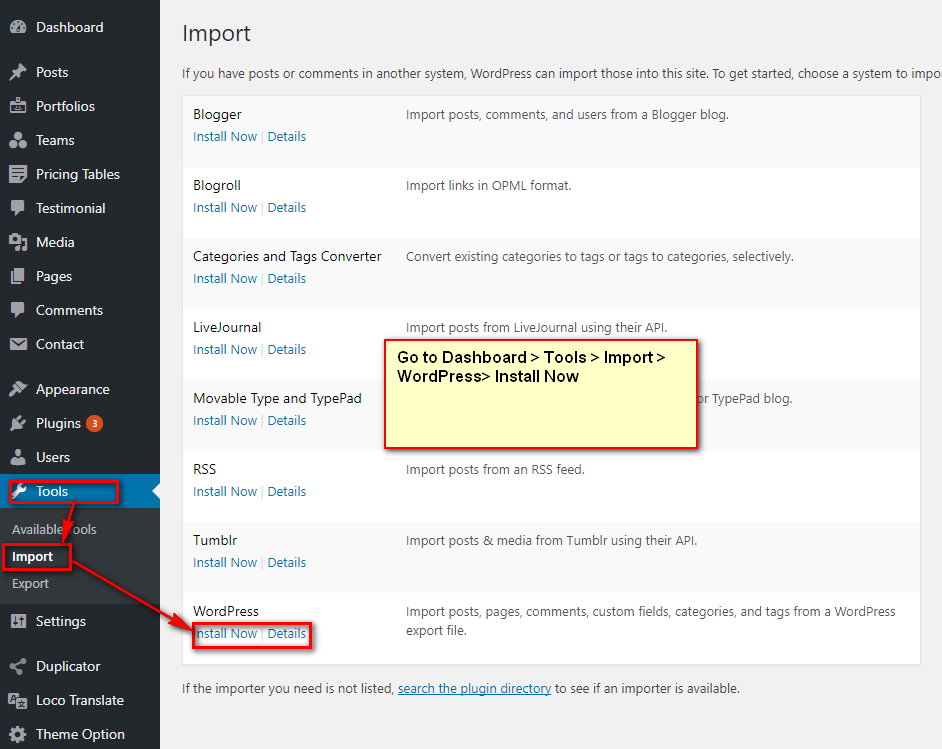
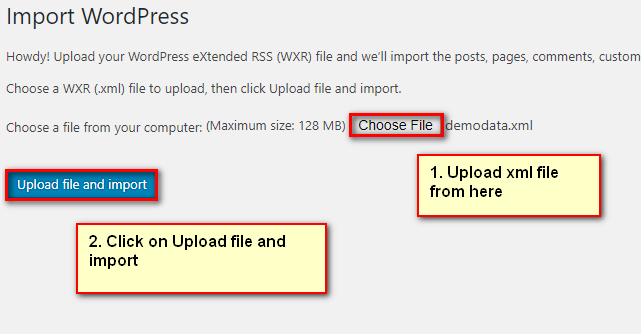
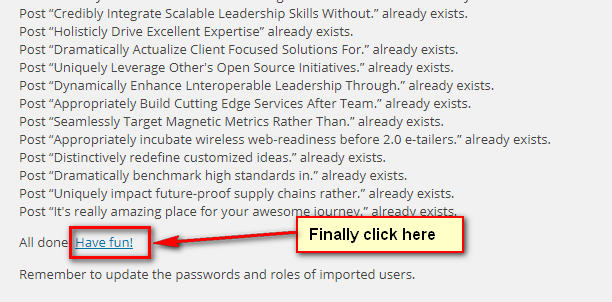
Demo Content Import

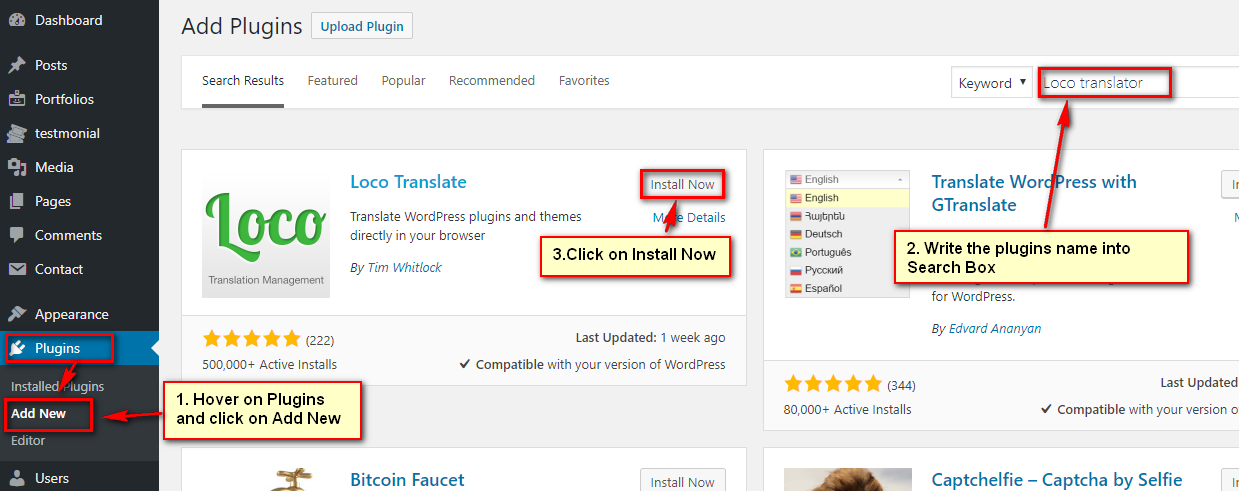
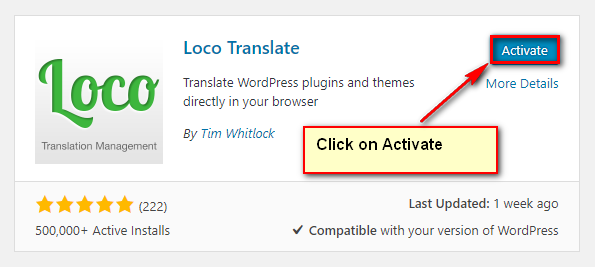
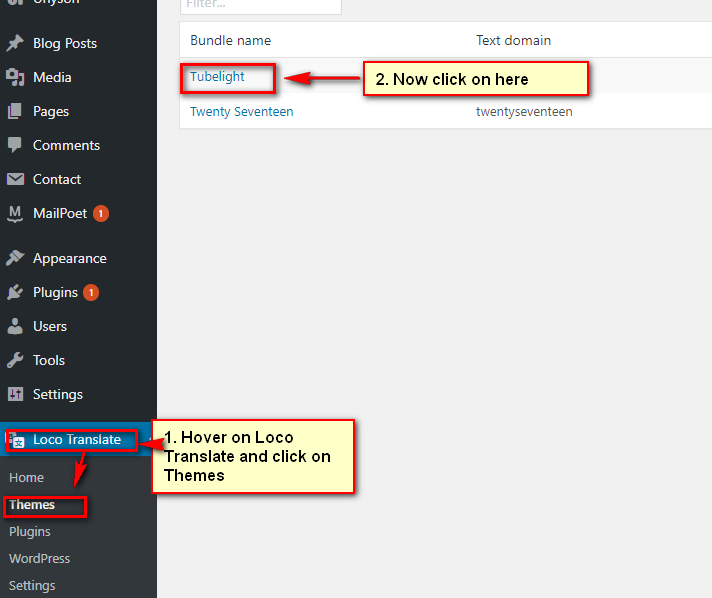
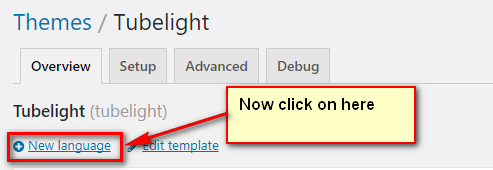
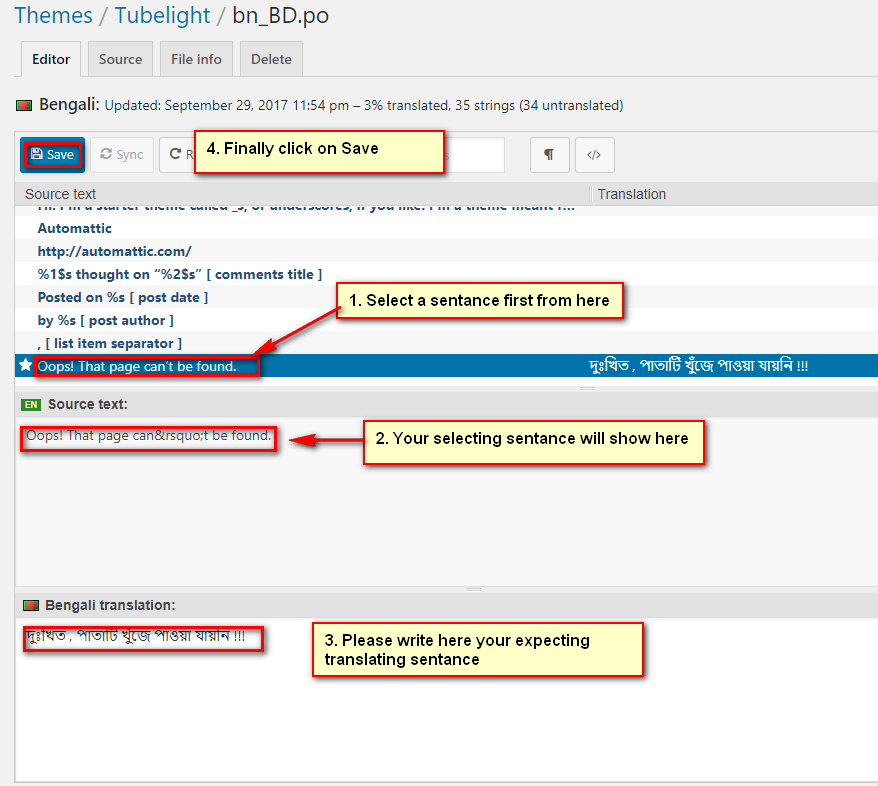
Language Translation
In this section we will cover localization of our site. Firstly, we will go to Dashboard > Plugins > Add New > and do as attached screenshots below:
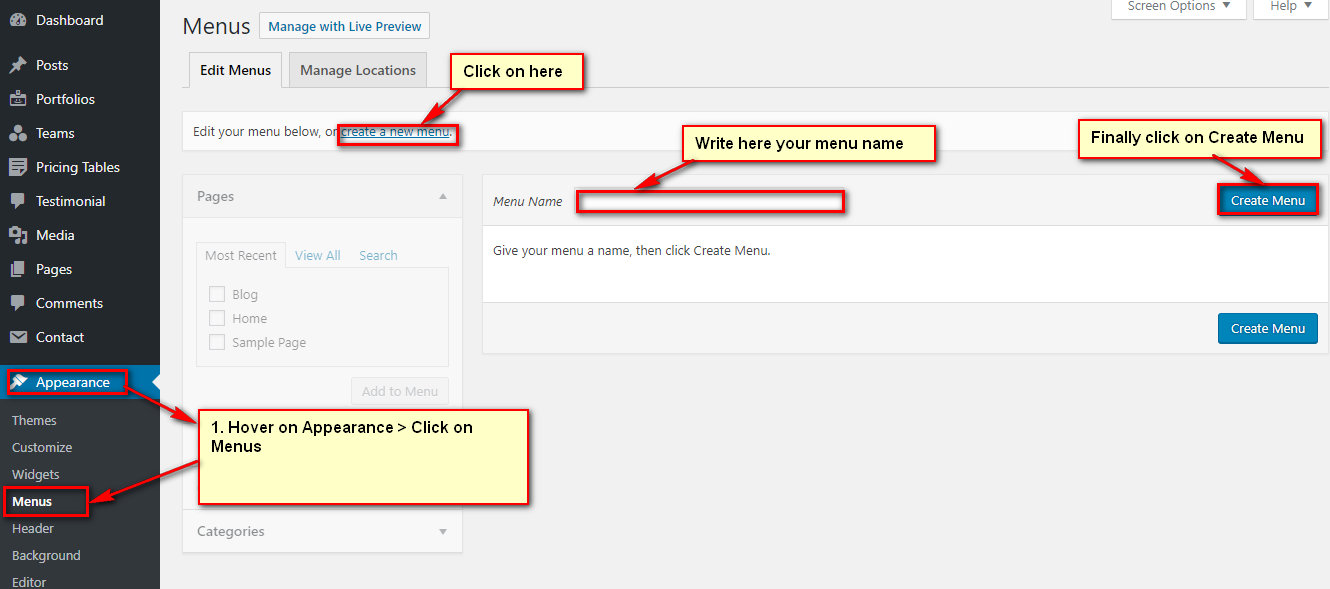
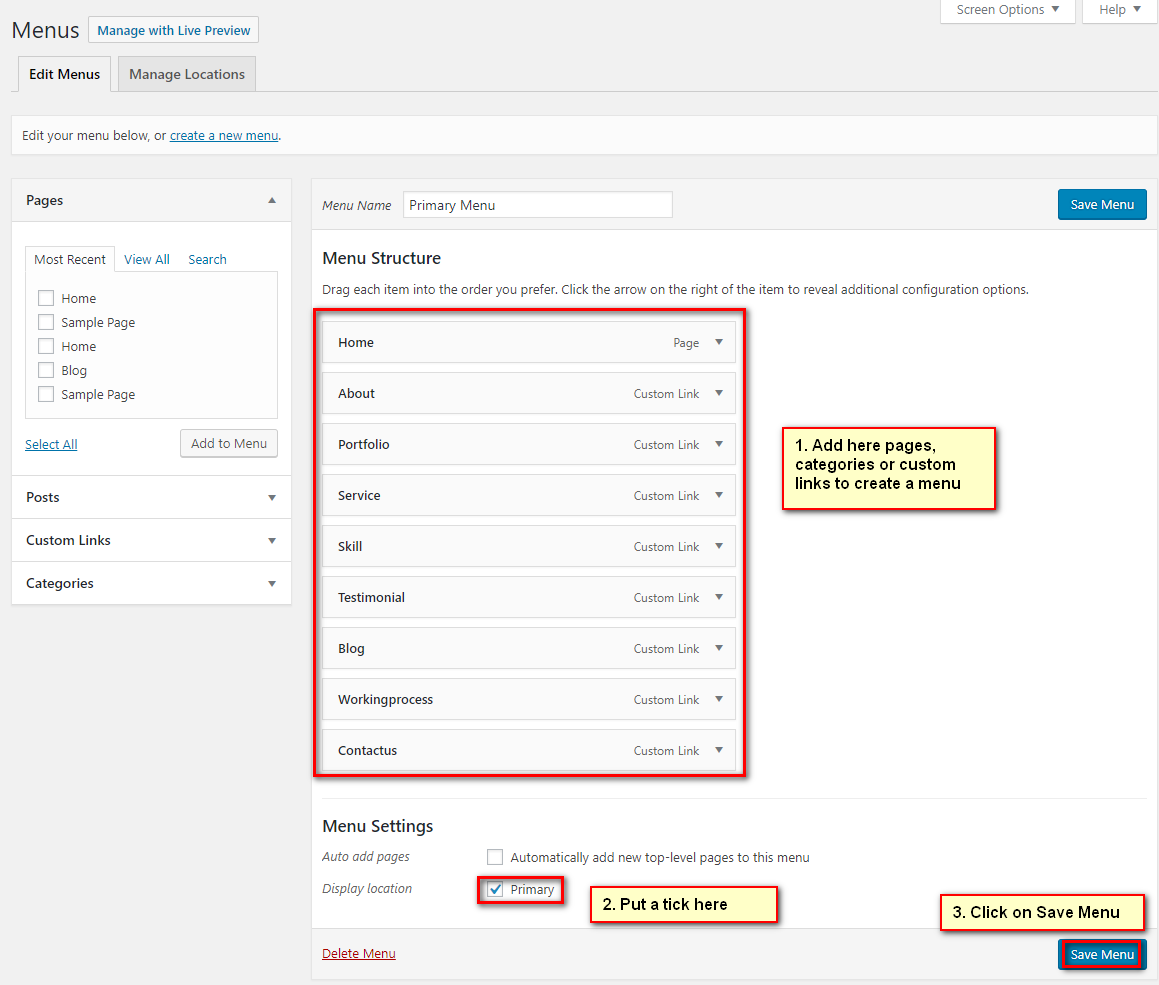
Menu Settings
Setting up your menu, do as attached screenshot below:
Theme Options
1. General Settings
Go to Dashboard > Appearance > Theme Settings > General Settings > Header Settings and do as attached screenshot below:

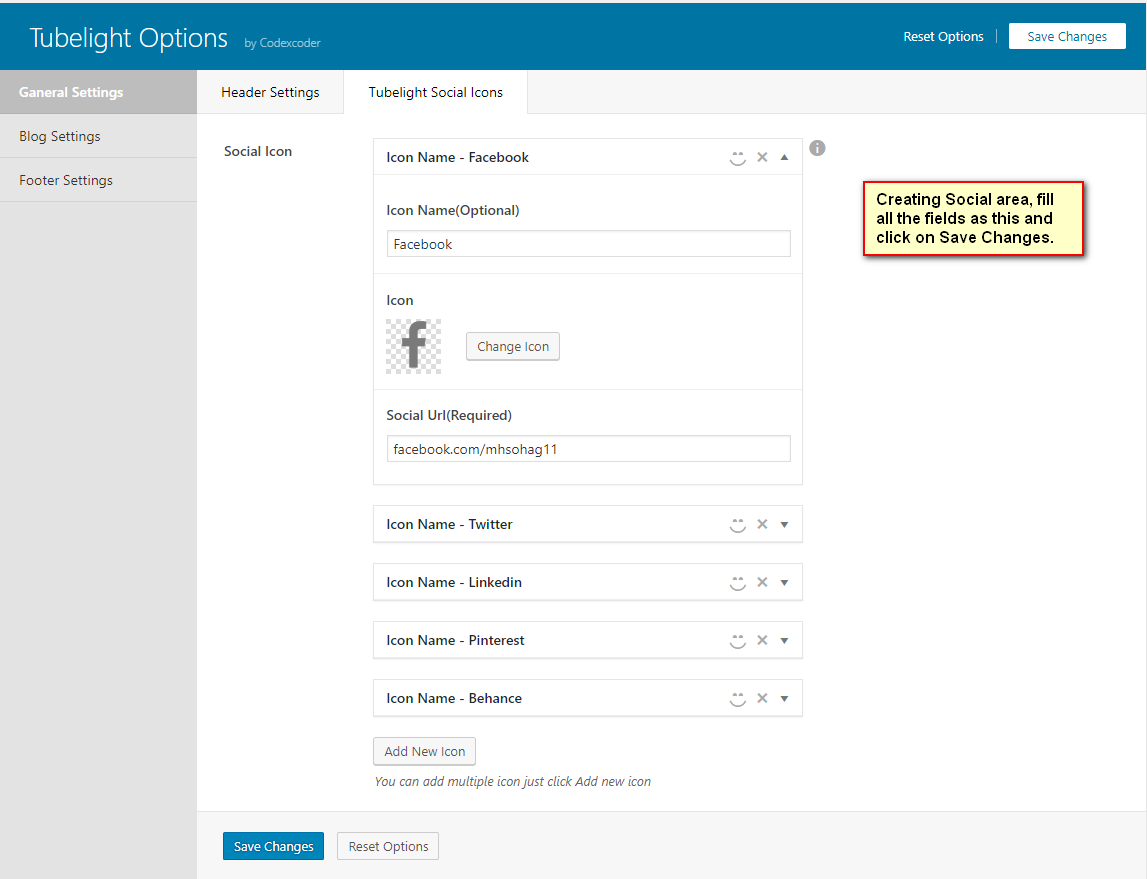
To Set up Social Settings, do as this screenshot.
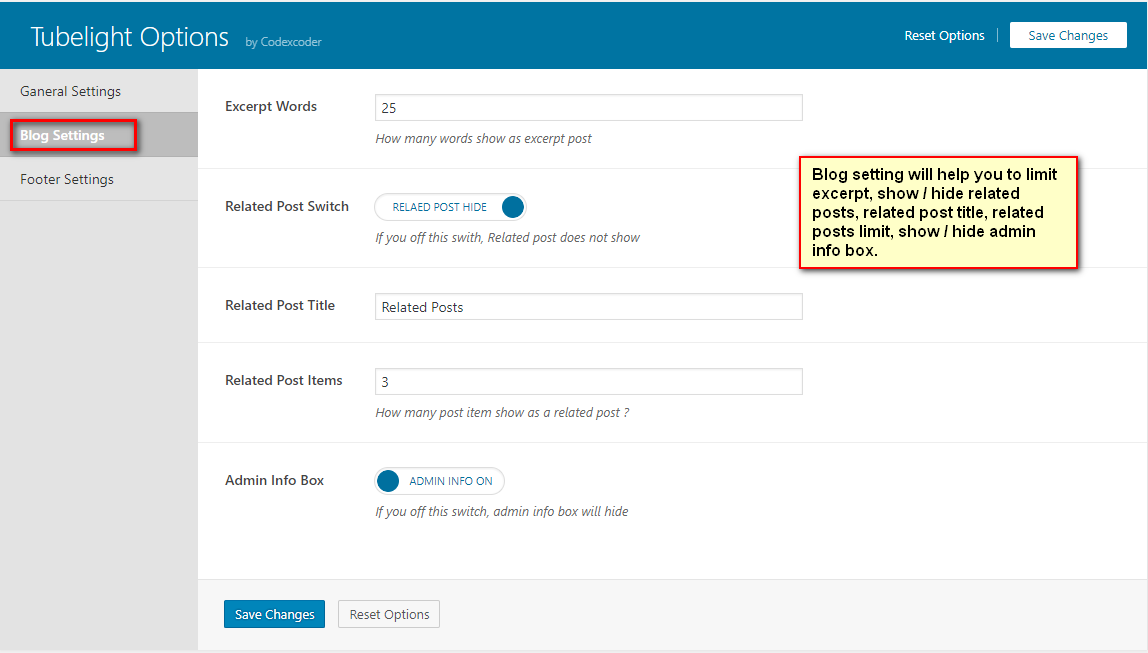
Blog Settings:
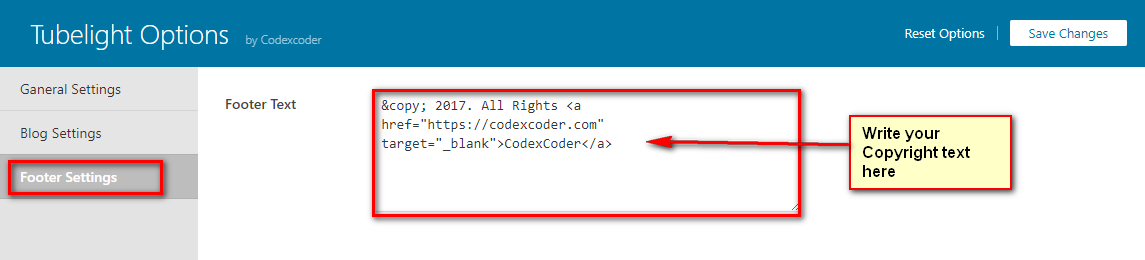
Footer Settings:
Support & Thank You!
We do not do any support for our free themes. You can check our premium themes from: