Thank you so much for purchase our Event Hub WordPress theme. Feel Free to contact with us for any issue. You can write us here: labartisan@codexcoder.com
EventHub
A Beautiful, Professional event management clean, modern, user friendly, fast-loading, customizable, flexible, and functional WordPress theme.
- By: LabArtisan
- Email: labartisan@codexcoder.com
A Beautiful, Professional event management clean, modern, user friendly, fast-loading, customizable, flexible, and functional WordPress theme. It uses the best clean SEO practices, overall it is fast, simple, and easy to use. We offer a strong support and friendly help 24/7.
Before you start playing around with this Premium Theme, let's check what you've downloaded so far:
- Documentation - That's where you
- Sample Data - Demo content and theme setting json for complate setup.
- Upload - This is where all Theme files are (zipped & unzipped format)
The first option how to install Event Hub WordPress Theme would be to directly upload the event-hub.zip file via WordPress Theme Uploader.
-
Log into your WordPress backend
-
Navigate to Appearance > Themes
-
Click Install Themes/Add Themes
-
Click Upload/Upload Themes
-
Now you just need to find the "event-hub.zip" in the Upload folder and hit Install now.
-
After Installed then click Active Now
Theme Install From FTP
The second option how to install this Theme would be the upload via FTP manager. It really dosen't matter which of the two ways you choose, just choose the one you feel more comfortable with.
-
Login to your FTP account and navigate to your WordPress Installation directory
-
Navigate to the folder /wp-content/themes
-
Upload the "EventHub" folder (not the .zip-file). This is the folder located inside the "Upload" folder in the zip-file you've downloaded from LabArtisan.
-
Now log into your WordPress backend
-
Navigate to Appearance > Themes
-
Find the Theme and click Activate
After installing the theme, you can see the notice below screenshot:
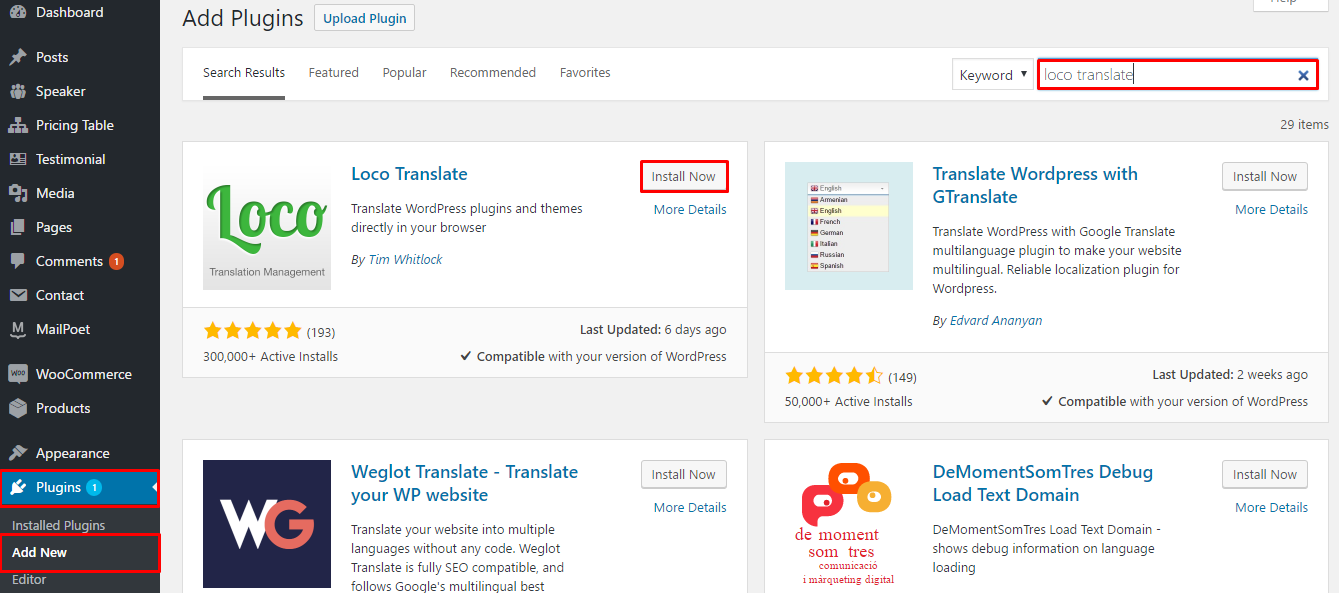
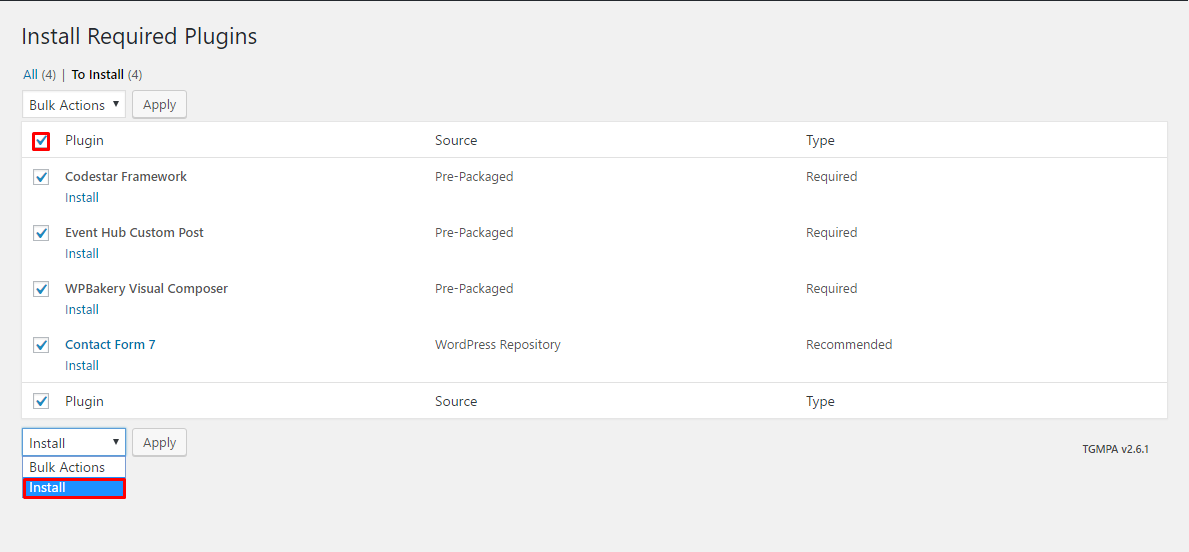
Now click on Begin Installing Plugins.

Put tick all the plugins and select the Install and click on Apply.
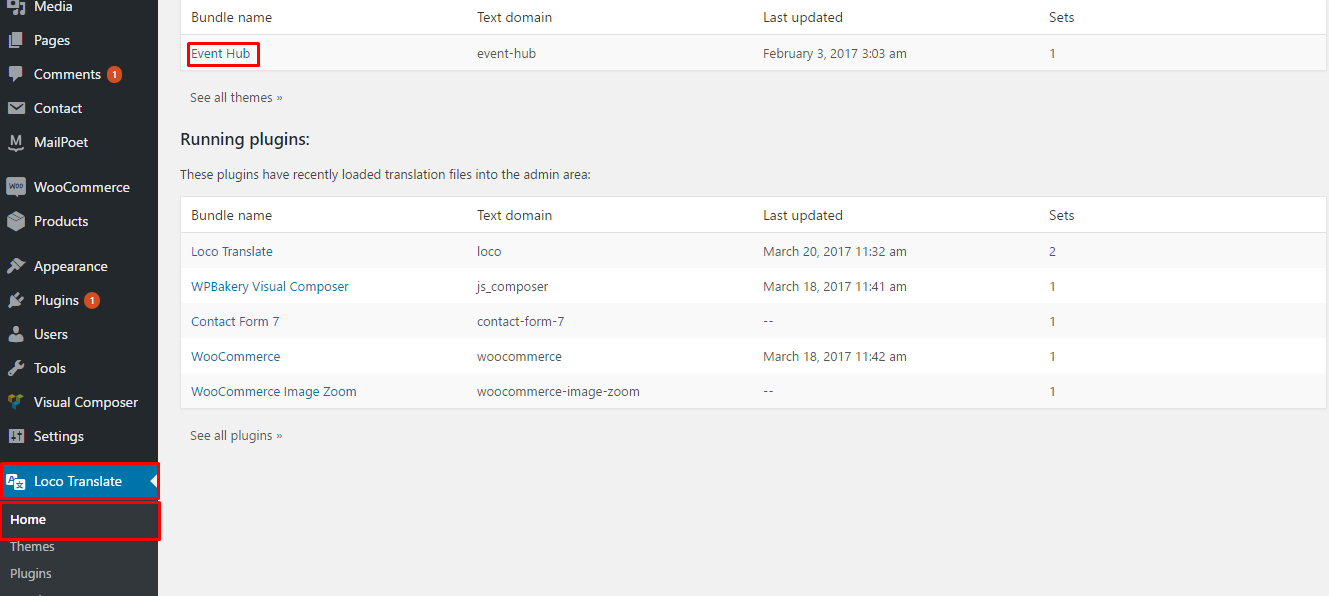
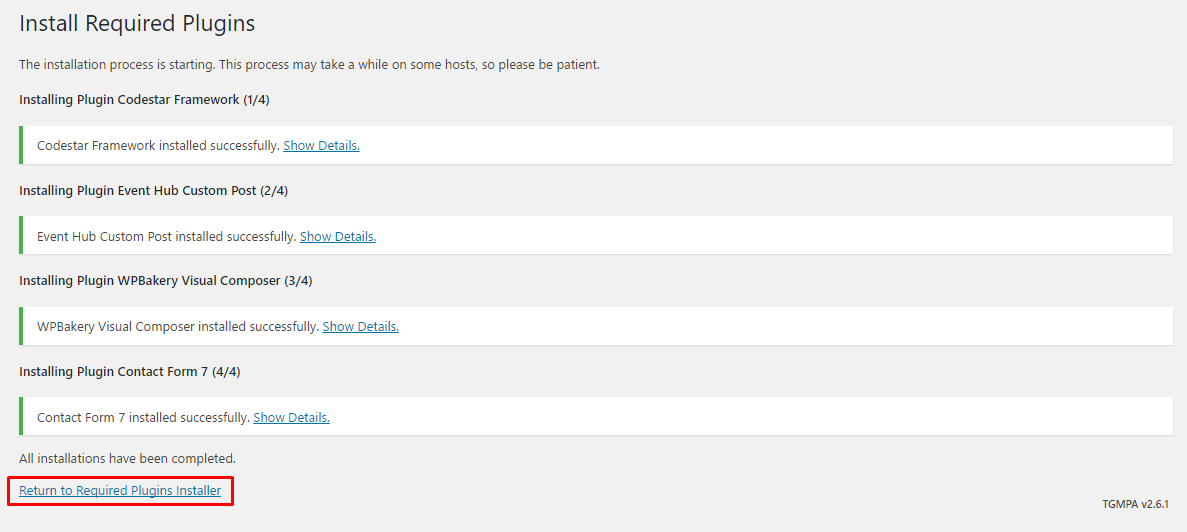
Now you can see the all installed plugins name and their installed message.
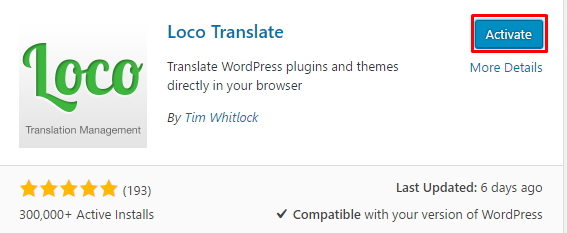
Finally, you put tick all plugins and click on Activate option individually or from Bulk Actions and click on Apply
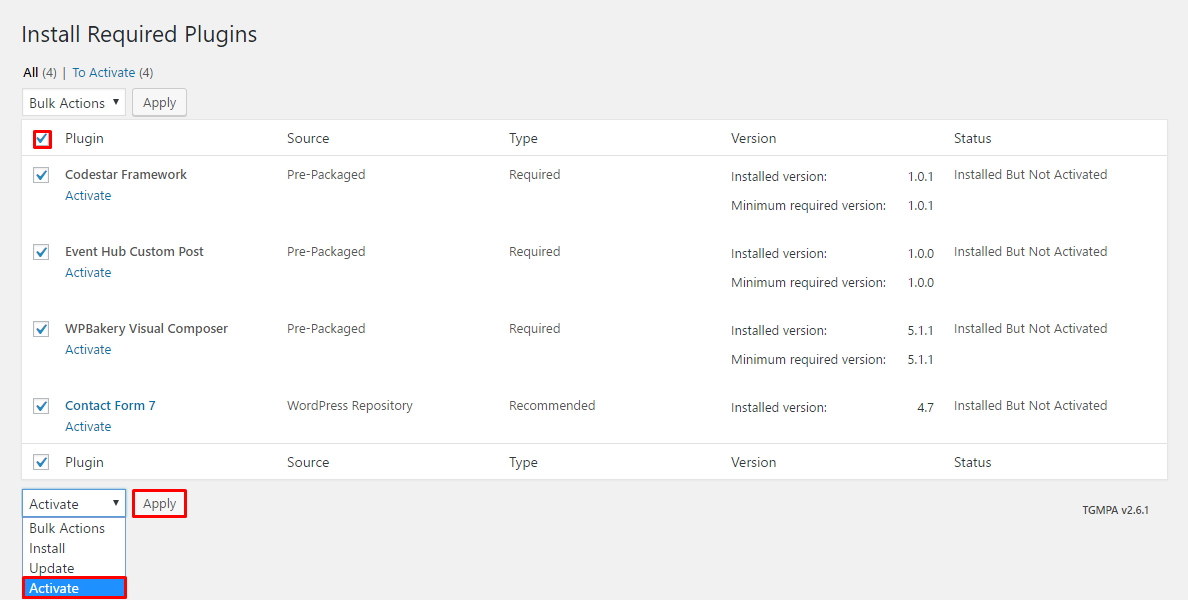
Now you can see the plugins are activated and you will able to use theme.
If you want to setup WooCommerce. Please install these following two plugins:
The theme comes with a demo package. This package includes posts, pages, comments, settings, image and so on. This demo package is imperative in helping you to learn how the theme works. To import demo Data, you can follow these steps:
- Go to dashboard and click on Tools.
- Click on Import to begin the import process
- Then click on WordPress (Install Now) .
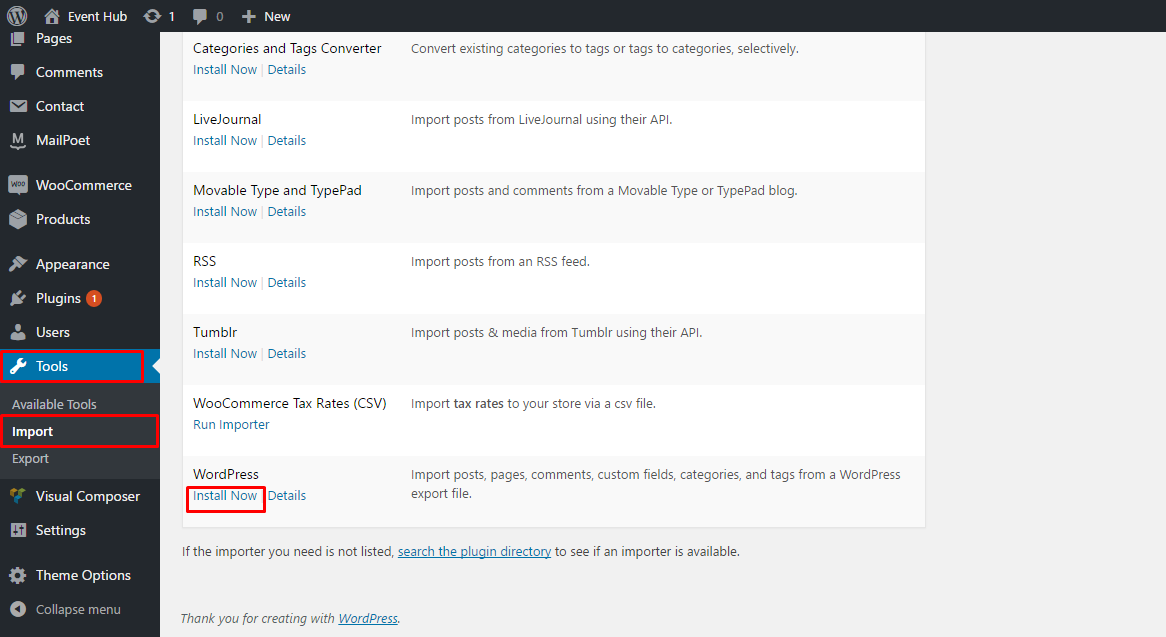
- Now click on Run Importer .

- After clicking on run importer you can able to see the Choose File button. Click on the button and choose your required demo data from Demo Data folder. Choose your expecting demo folder and import xml file.
- Now click on Upload file and import button.

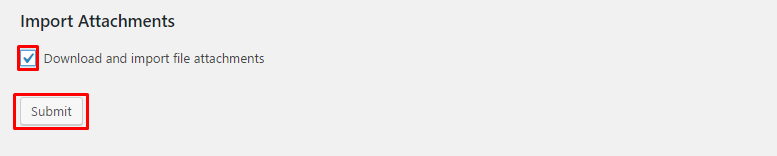
- Now you can see the screenshot below: Now put tick on Import Attachments option.
- And click on Submit button.
- Now you can see the screenshot below: Finally click on Have Fun and go back to your dashboard. Your demo will be imported.

After installating and activating top-news, you need to perform the following tasks to enable landing page.
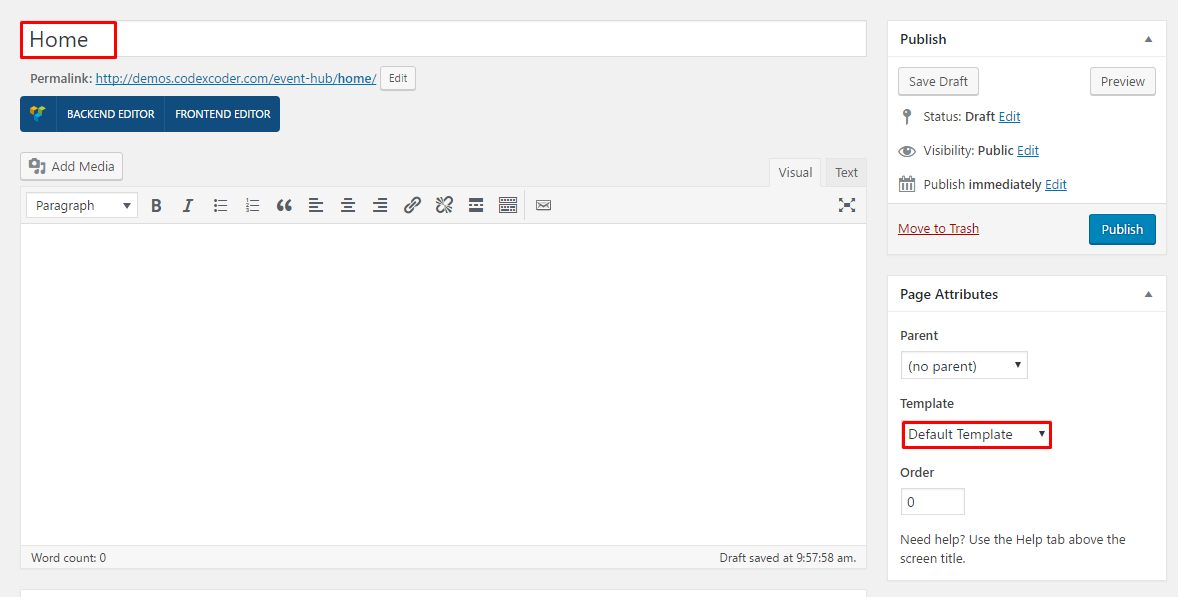
- Go to Dashboard and click on Pages
- Now click on Add new
- Write a title of your page into Title field.
- Now select the Default Template from Template option.
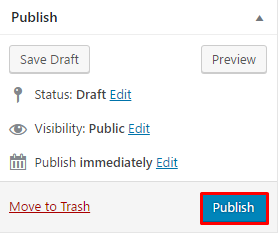
- Now click on Publish button.
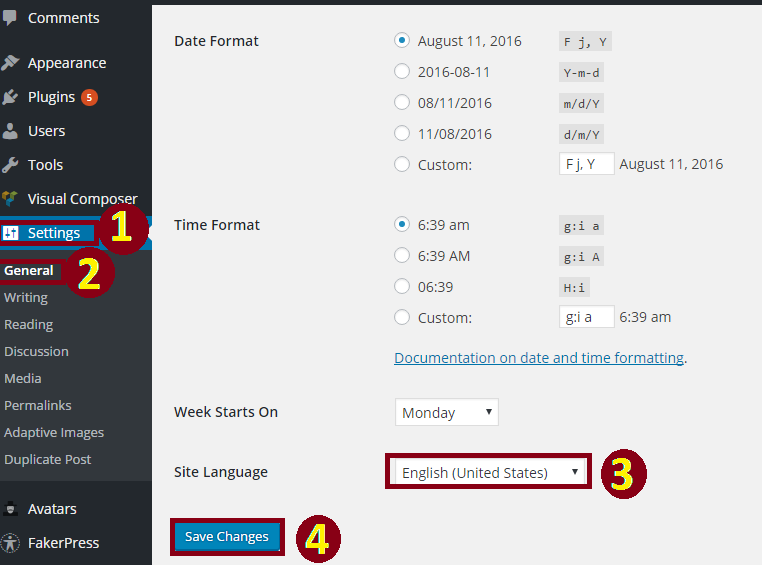
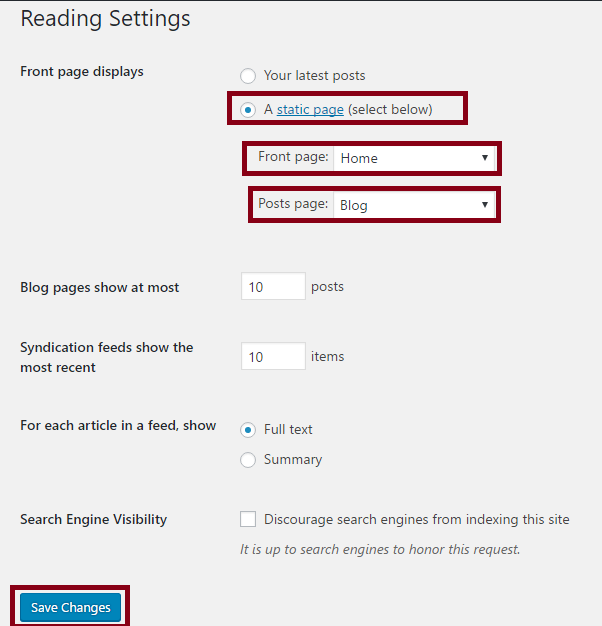
Now go to Dashboard and click on Settings > Reading. Please see the screenshot below and do as it.
But if you want to show your homepage as full width, you need to select Template Full Width as screenshot below .

- Go to Dashboard and click on Pages
- Now click on Add new
- Write a title of your page into Title field. Example as : Home
- Then use the short-codes which you want to show in home page version one.
- You can use the custom page setting option from Custom Page Settings option.
- In Custom Page Settings option you will able to change the header style using Transpareant Menu. You can enable or disable transparent menu.
- Using Page Header option, if you want to show your page header, you can show or hide.
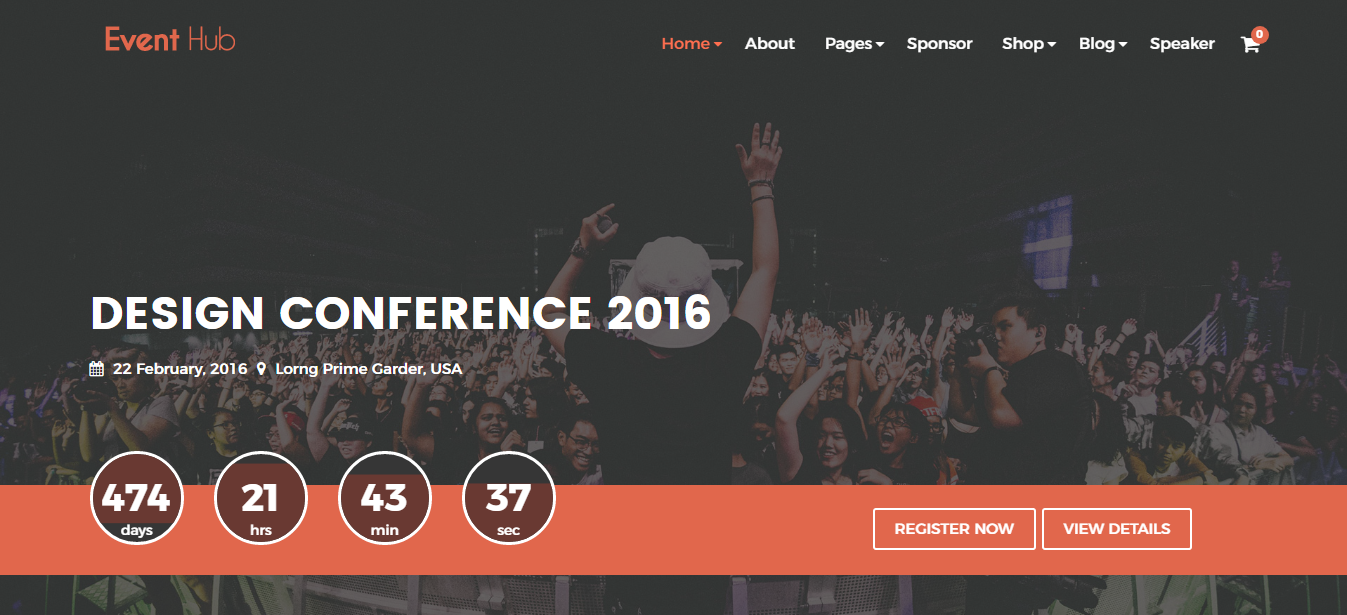
- There are three types Banner styles. You can use one of the style using Banner Style option.
- You can choose an image for your banner using Banner option.
- If you want to write your banner title, you can write here your banner title into Banner Title field.
- Finally click on Publish button.
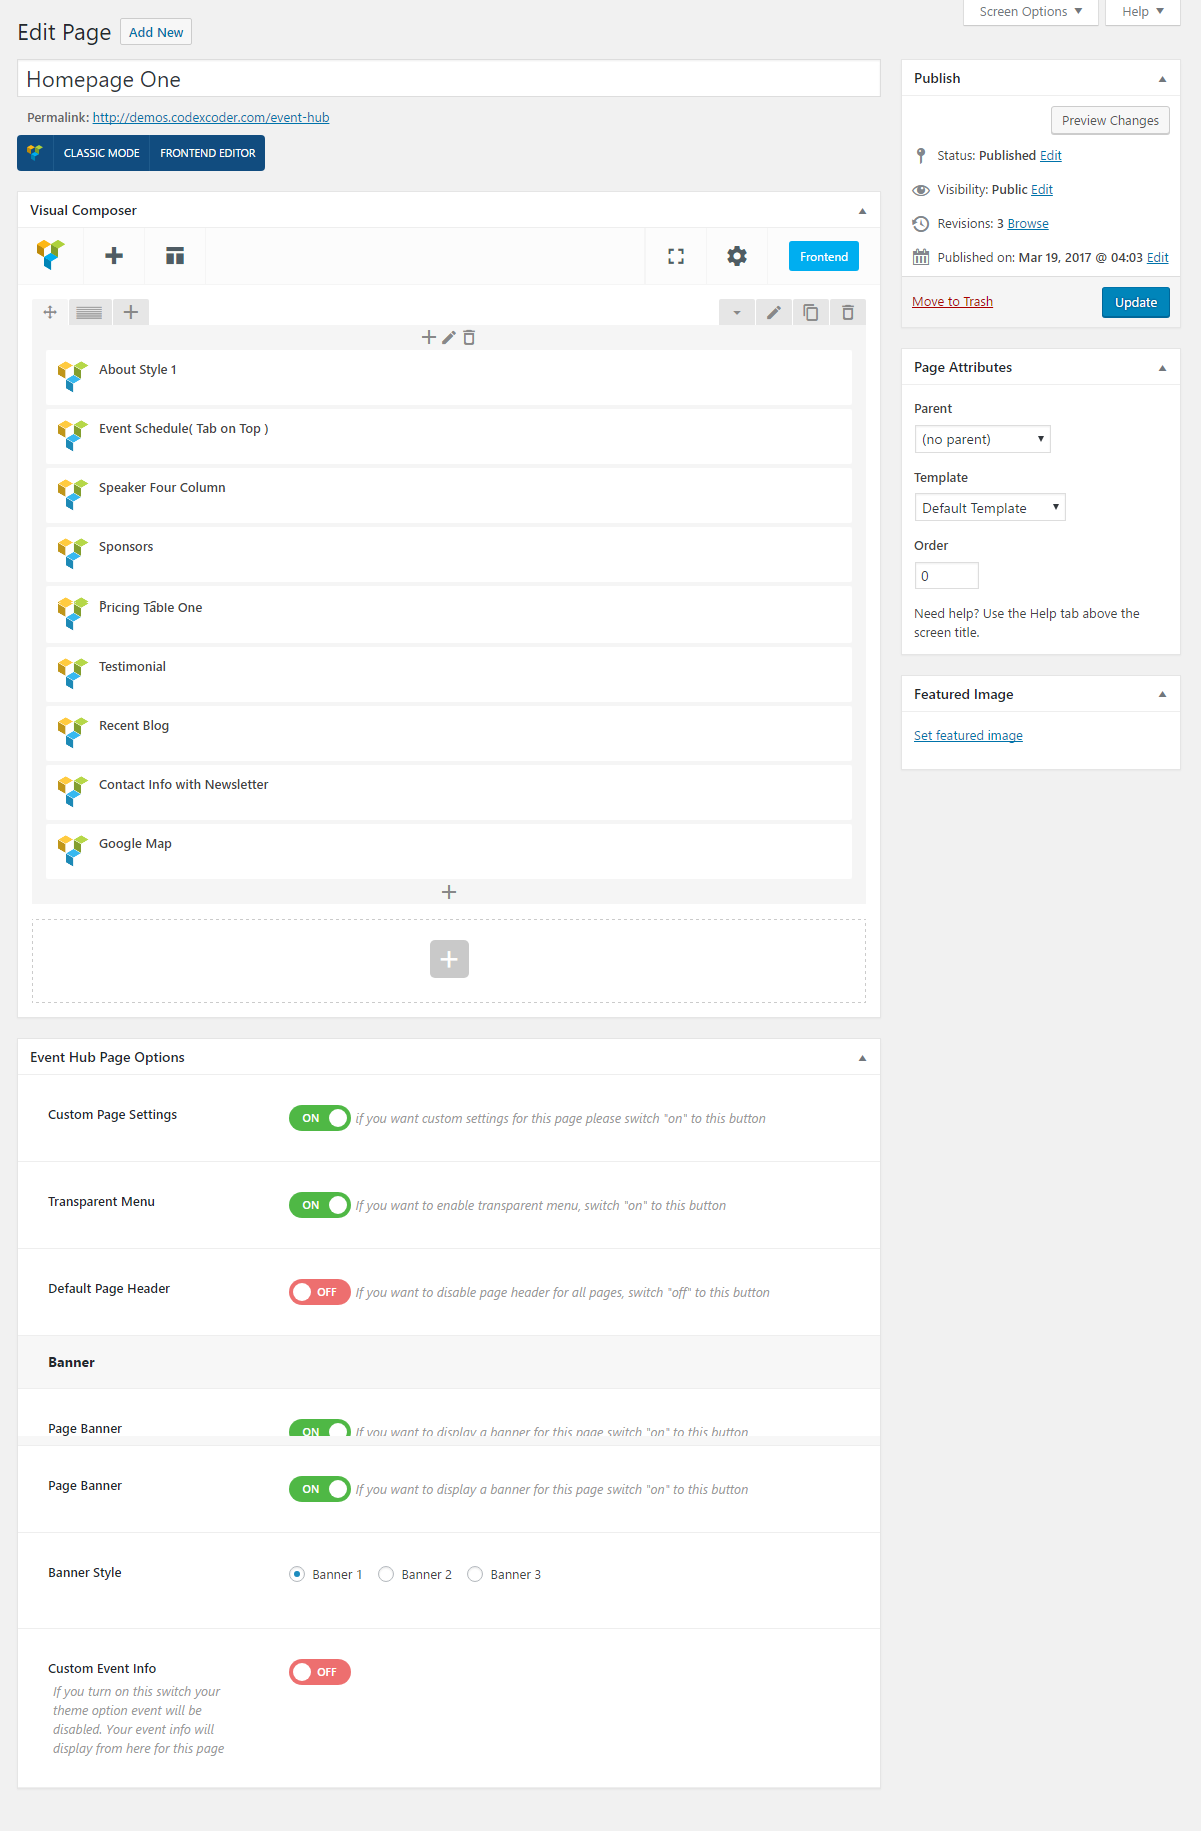
Fill up all fields carefully, you will able to see the screenshot below:(We mention here the banner area only.)
- Go to Dashboard and click on Pages
- Now click on Add new
- Write a title of your page into Title field. Example as : Homepage Two
- Then use the short-codes which you want to show in home page version Two.
- You can use the custom page setting option from Custom Page Settings option.
- In Custom Page Settings option you will able to change the header style using Transpareant Menu. You can enable or disable transparent menu.
- Using Page Header option, if you want to show your page header, you can show or hide.
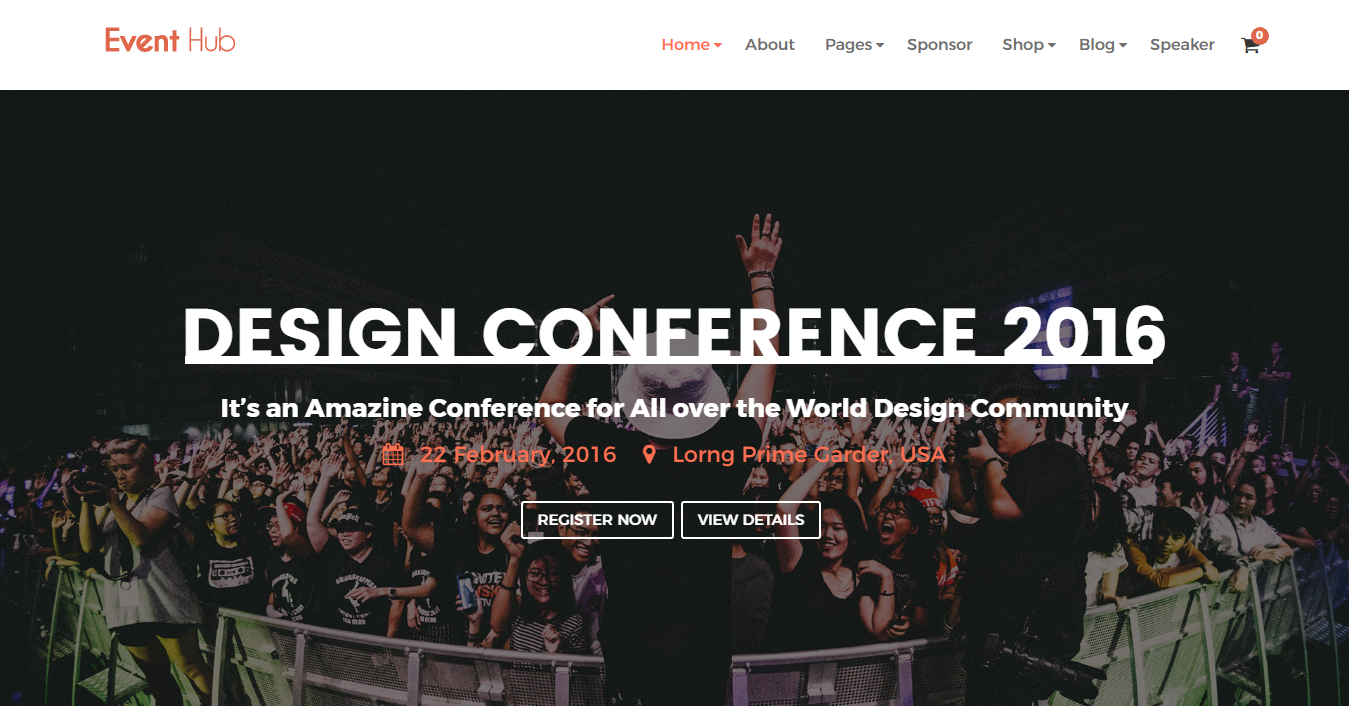
- There are three types Banner styles. You can use one of the style using Banner Style option. Here we used Banner 2
- You can choose an image for your banner using Banner option.
- If you want to write your banner title, you can write here your banner title into Banner Title field.
- Finally click on Publish button.
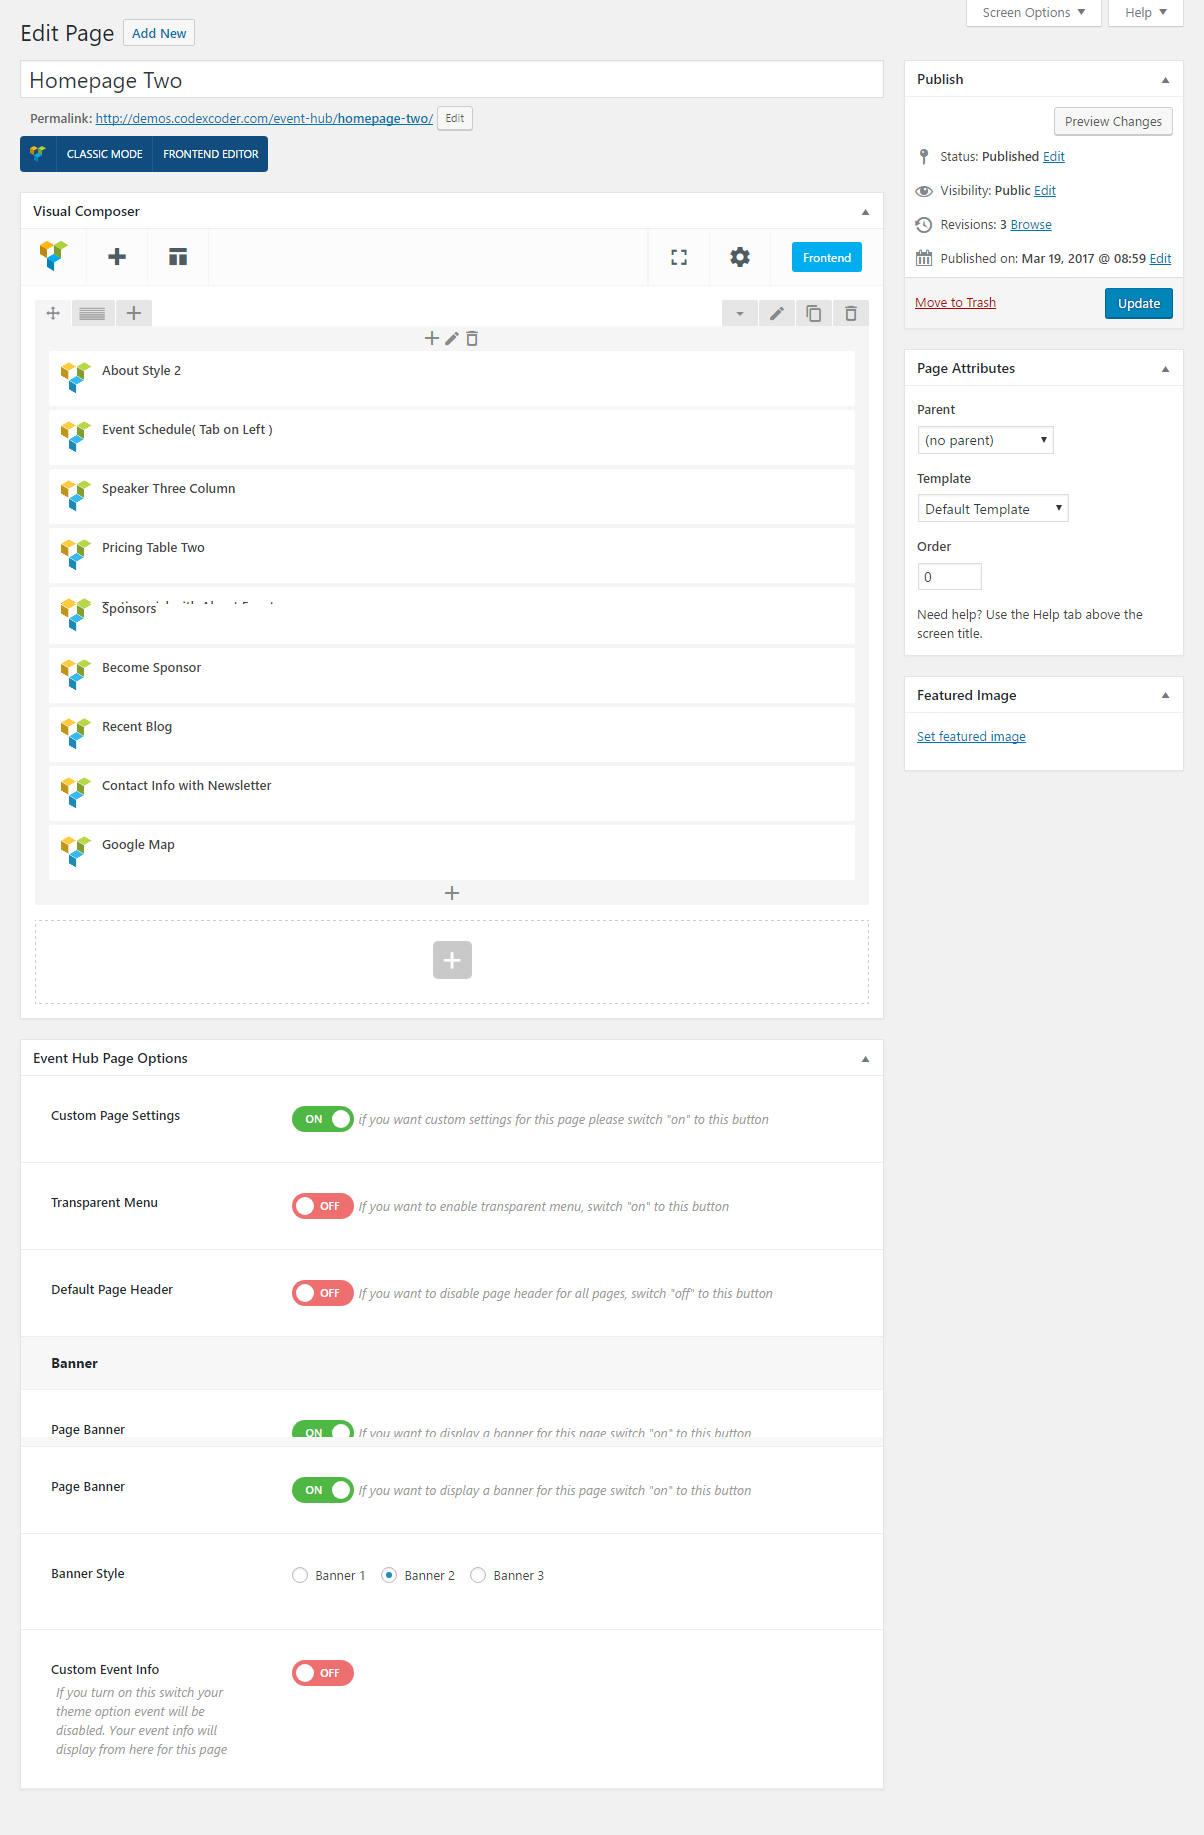
Fill up all fields carefully, you will able to see the screenshot below:(We mention here the banner area only.)
- Go to Dashboard and click on Pages
- Now click on Add new
- Write a title of your page into Title field. Example as : Homepage Three
- Then use the short-codes which you want to show in home page version Three.
- You can use the custom page setting option from Custom Page Settings option.
- In Custom Page Settings option you will able to change the header style using Transpareant Menu. You can enable or disable transparent menu.
- Using Page Header option, if you want to show your page header, you can show or hide.
- There are three types Banner styles. You can use one of the style using Banner Style option. Here we used Banner 3
- You can choose an image for your banner using Banner option.
- If you want to write your banner title, you can write here your banner title into Banner Title field.
- Finally click on Publish button.
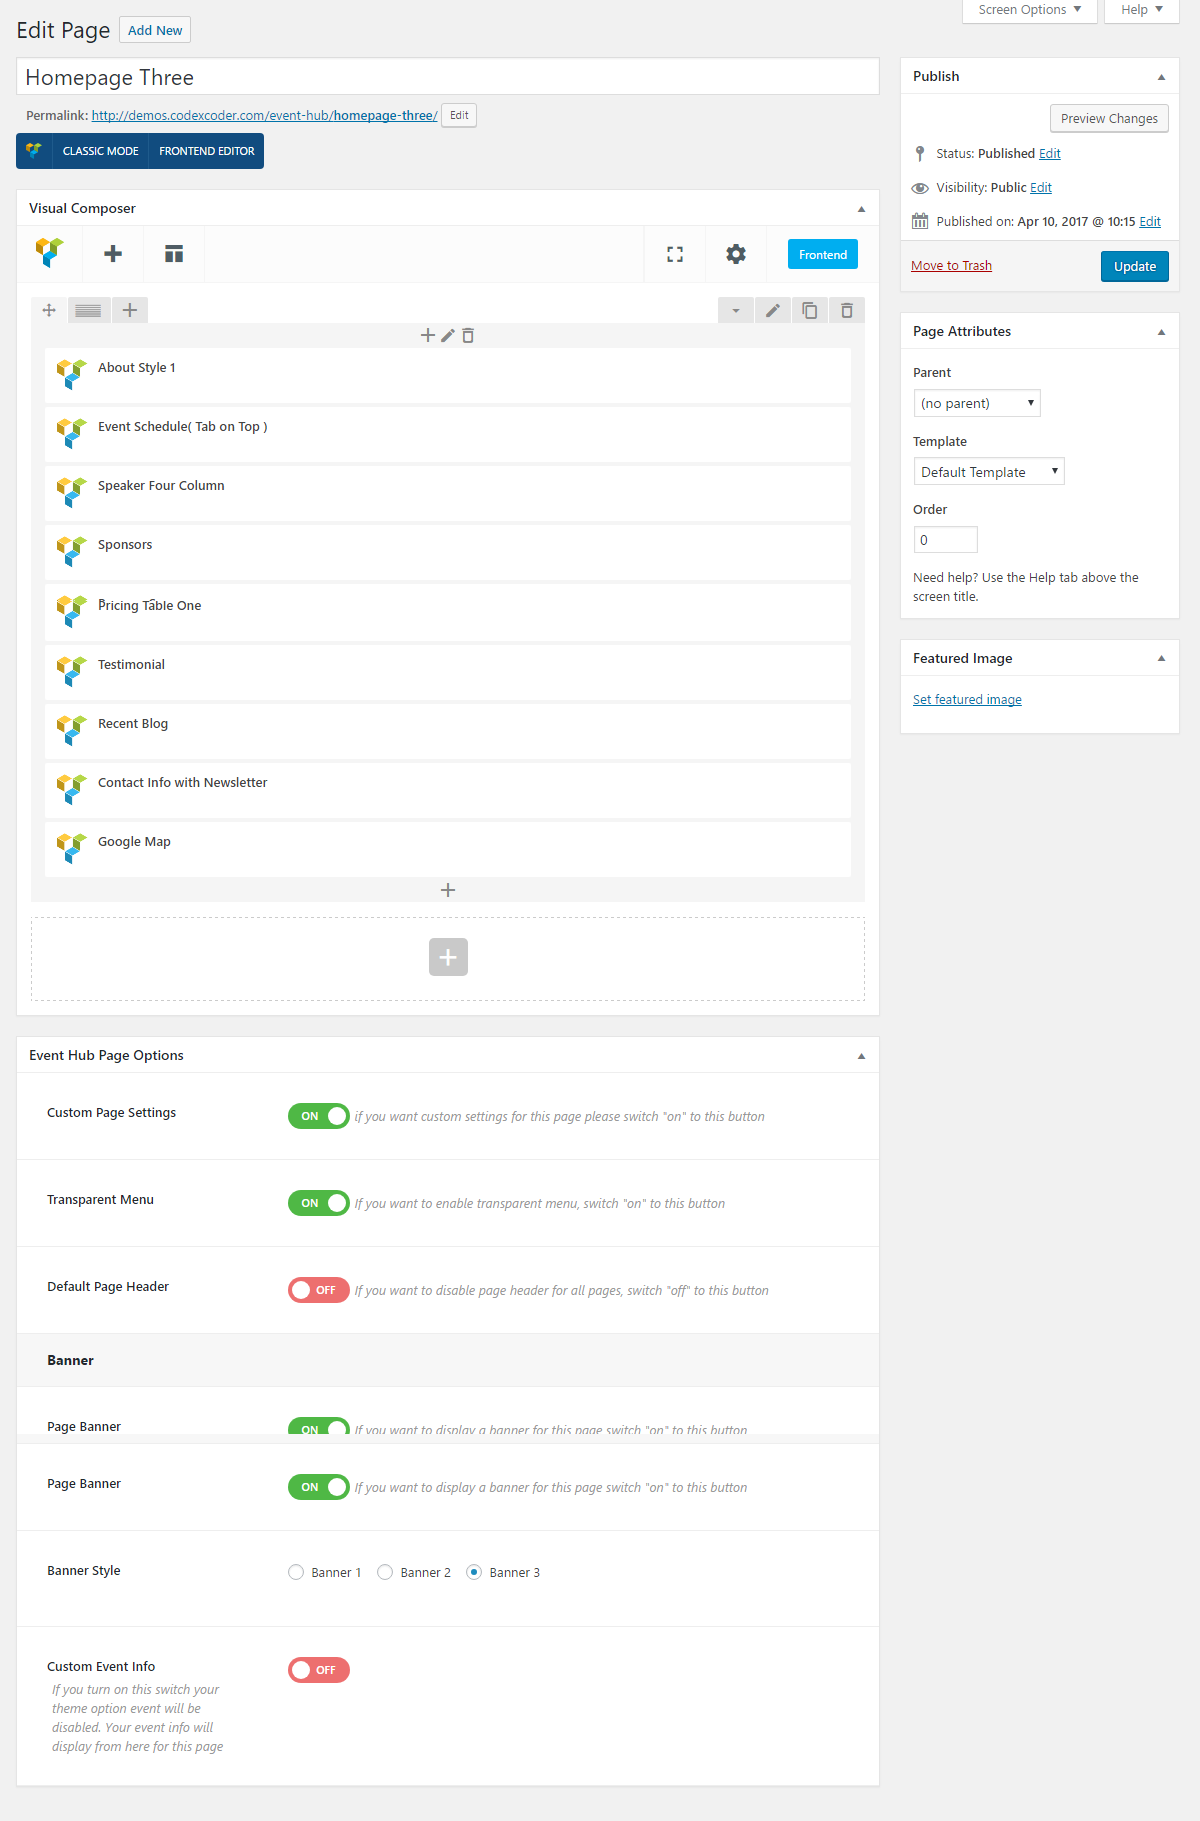
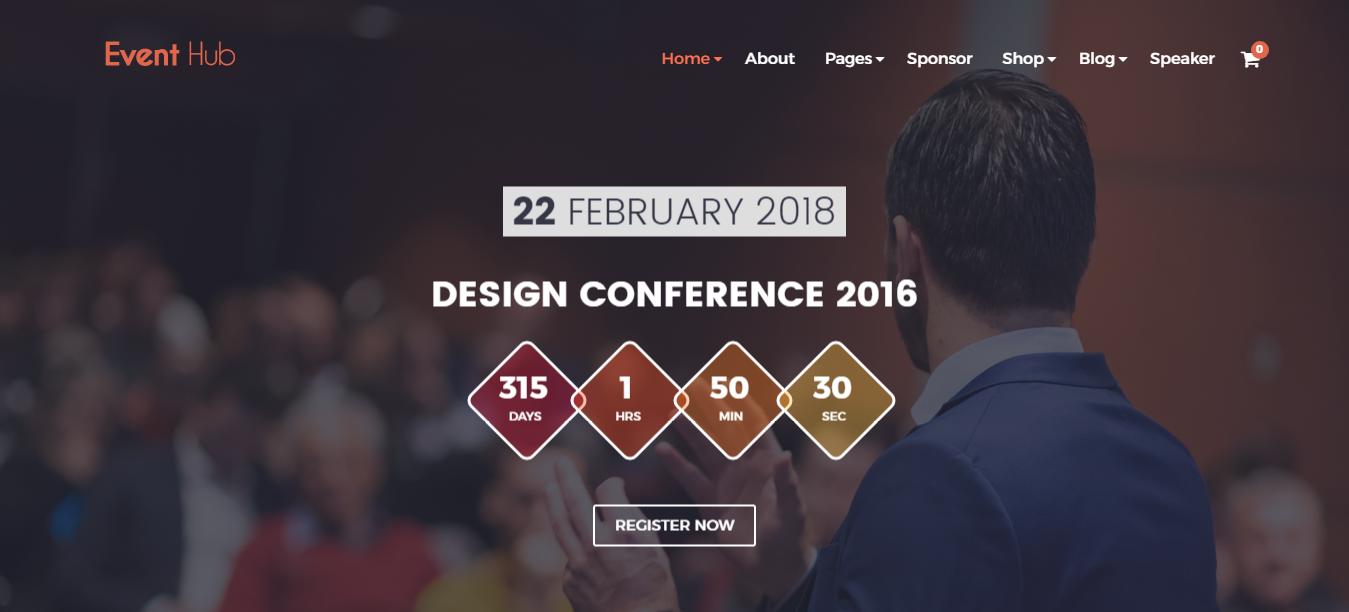
Fill up all fields carefully, you will able to see the screenshot below:(We mention here the banner area only.)
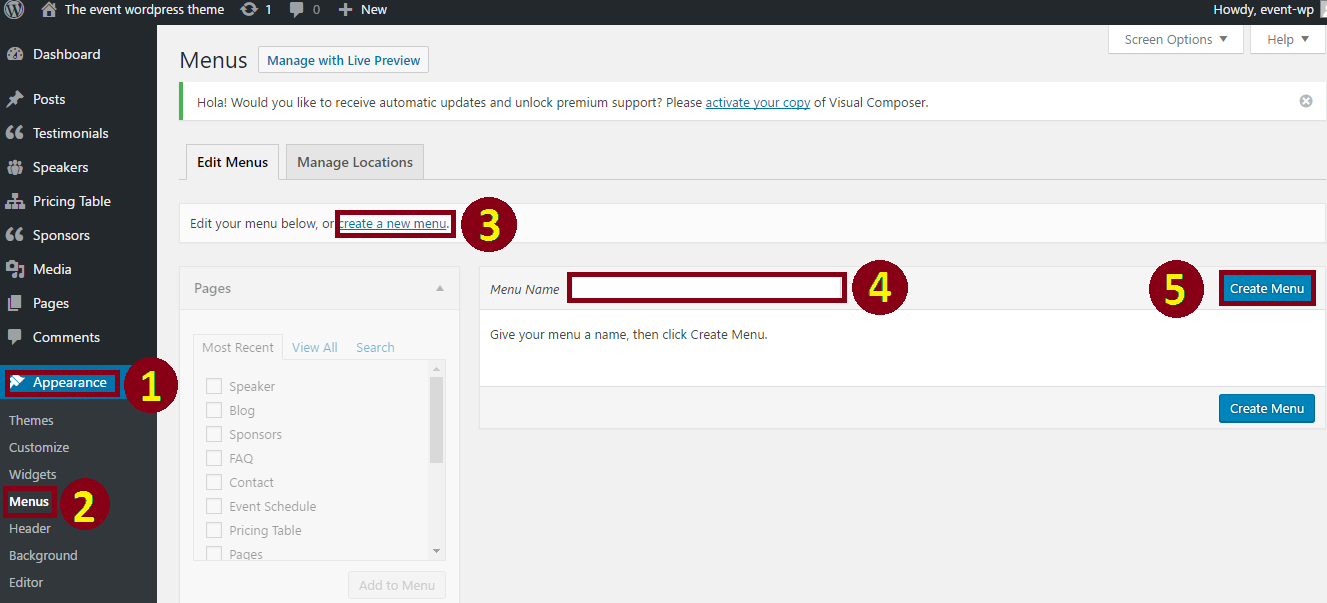
For your primary menu first go to dashboard
- Click on Appearence
- Click on Menus
- Click on create a new menu(Primary Menu)
- Write your menu name. Example: Main Menu.
- Click on Create Menu.
6. Select menu's element from Pages or Custom Links. (Put tick)
7. Click on Add to Menu button.
8. Now decorate your menu drugging up and down by cursor.
9. Put tick in Primary Menu.
10. Click on Save Menu.

Now you can see the outlook of your selected menu.

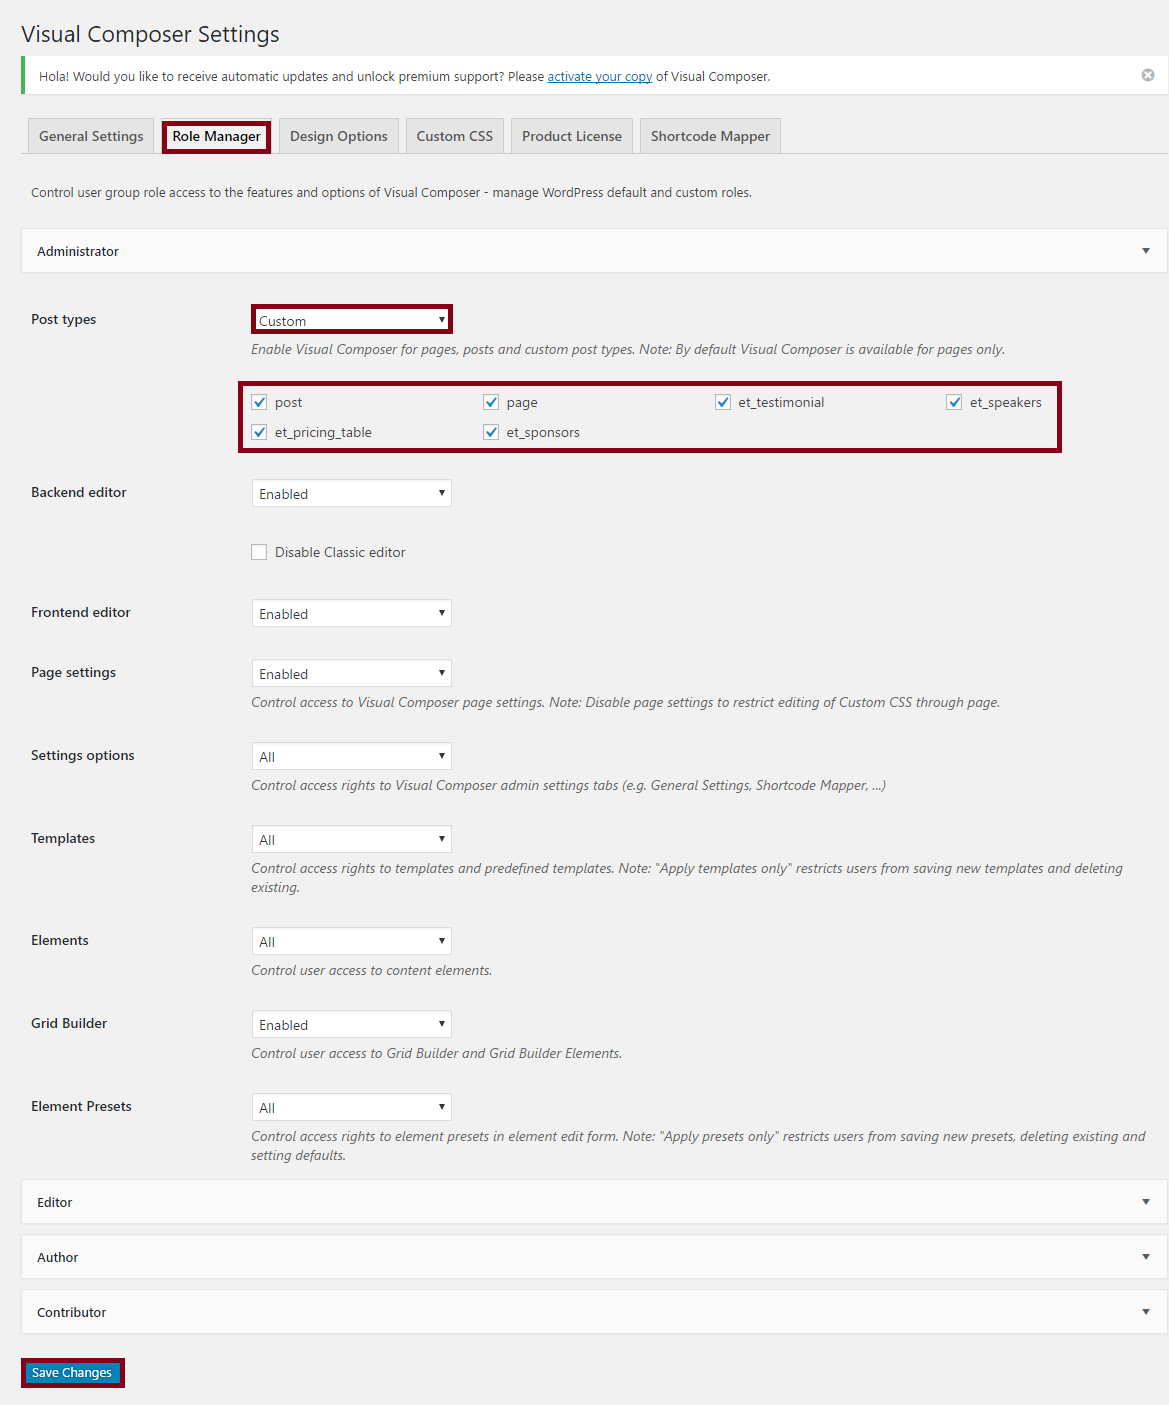
At first you need to go dashboard and click on visual composer > role manager > select the checkbox for post, page, et_testimonial, et_speakers, et_pricing_table and et_sponsors. Then click on Save Changes .
1. Click on pages > 2. Click on Add New > 3. Put the title of your page. > 4. Click on visual composer BACKEND EDITOR
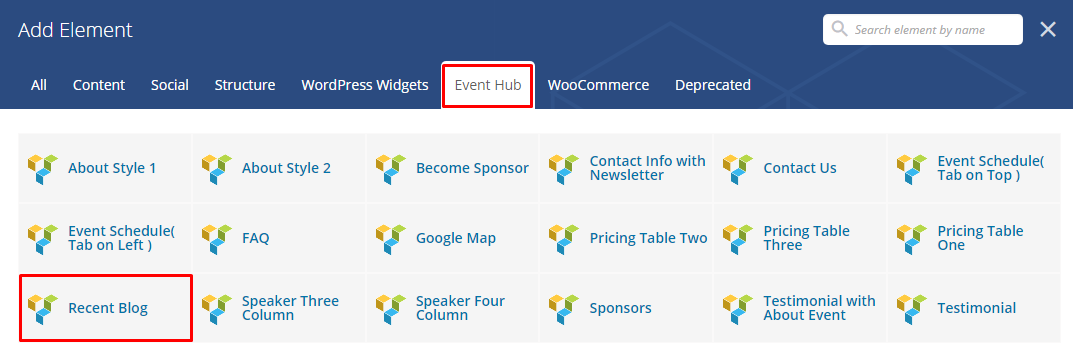
5. Now click on + Add Element .
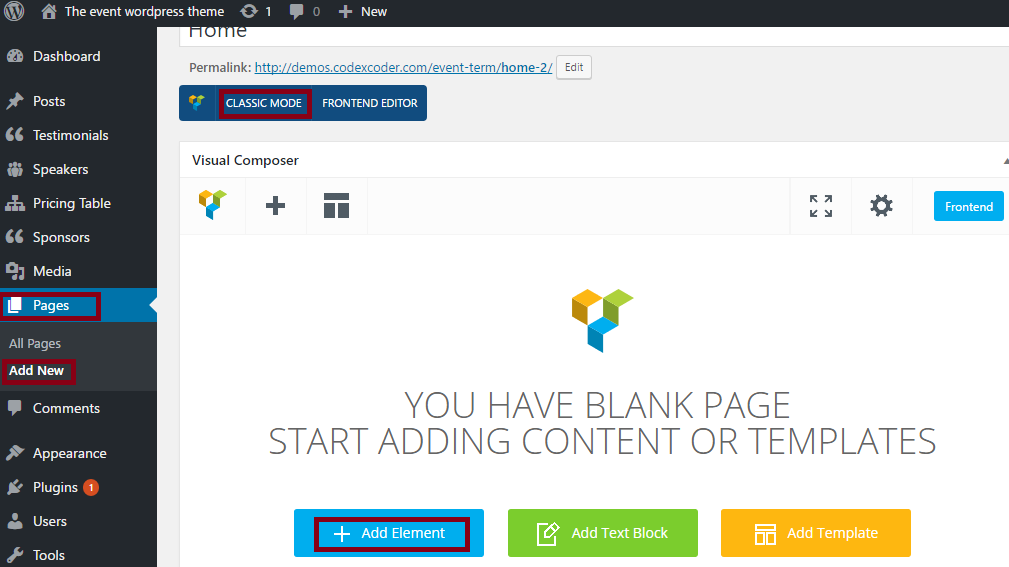
6. Then click on EventTerm .
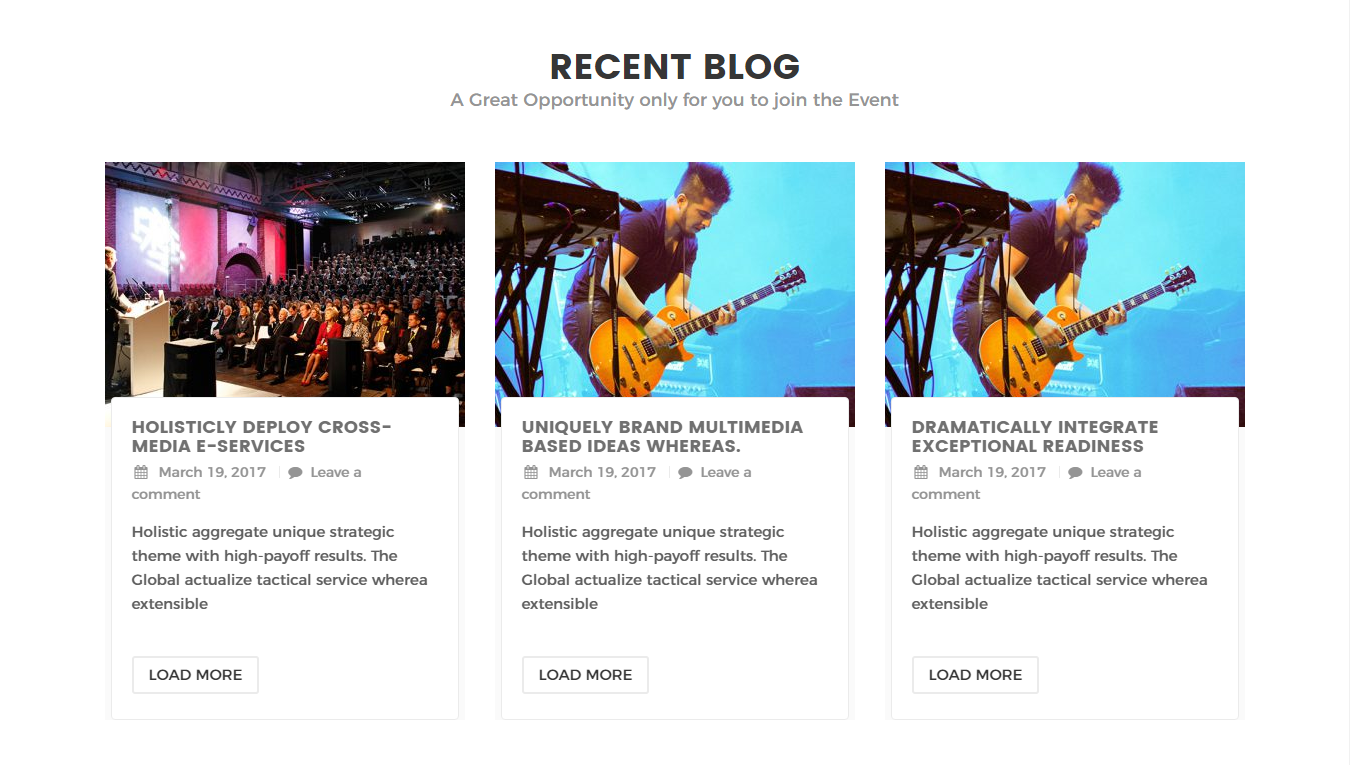
7. And choose an element. Example: Recent News .
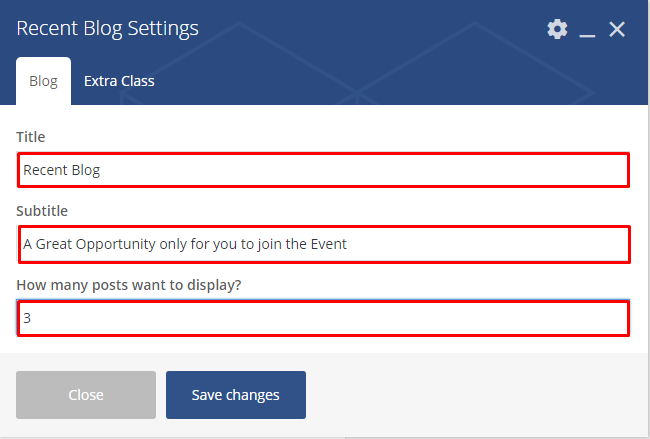
8. Write a title into Title options.
9. Write sub title into Sub Title optios.
10. Mention your post limit from Post Limit optios.
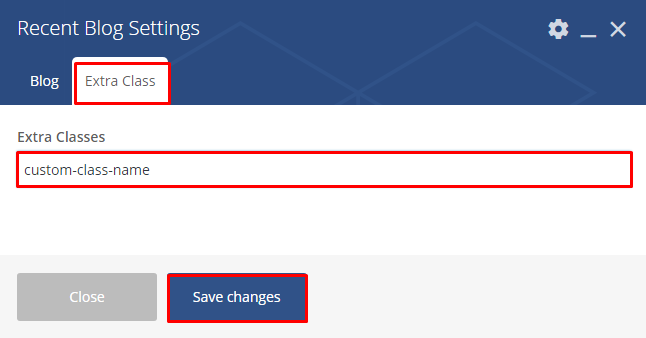
11. Put the extra class name if you want.
12. Finally click on Save Changes optios.
17.Click on Publish button.
Now you can see the outlook looks below:
- At first you need to go to dashboard and select the posts option.
- Click on All posts and select a post to insert a shortcode in post
- Click on BACKEND EDITOR . Then click on Google Maps option and put the title. Also you can put there map height.
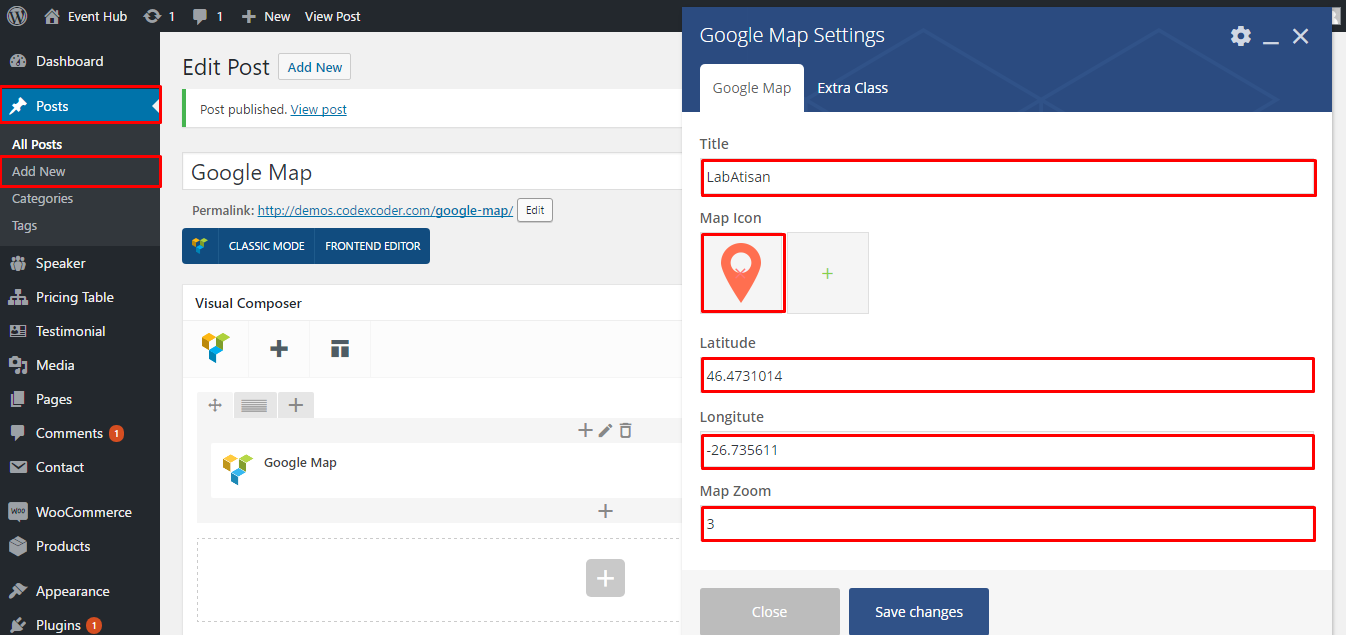
Finally you can see the screenshot below:
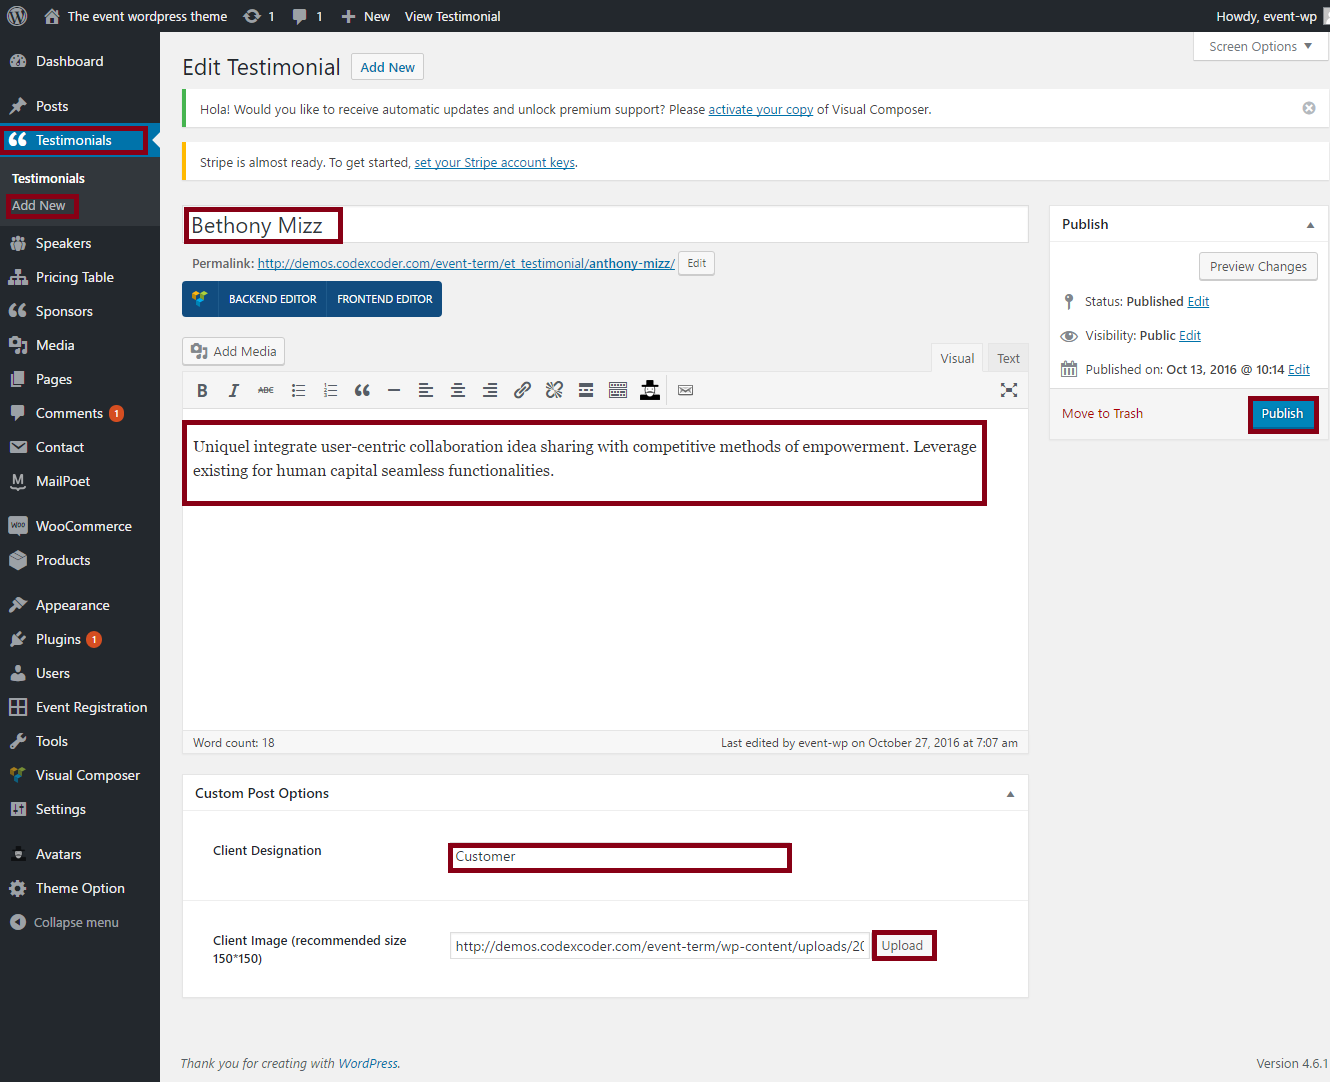
- At first you need to go to dashboard and select the custom post Testimonials option.
- Click on Add New.
- Now put your client's name into First Filed as screenshot's. Put your clients testimonials into description's area. Now put your clients designation into Client Designation field and upload an image of your client's from Client Image (recommended size 150*150) option.
- At last click on Publish button.
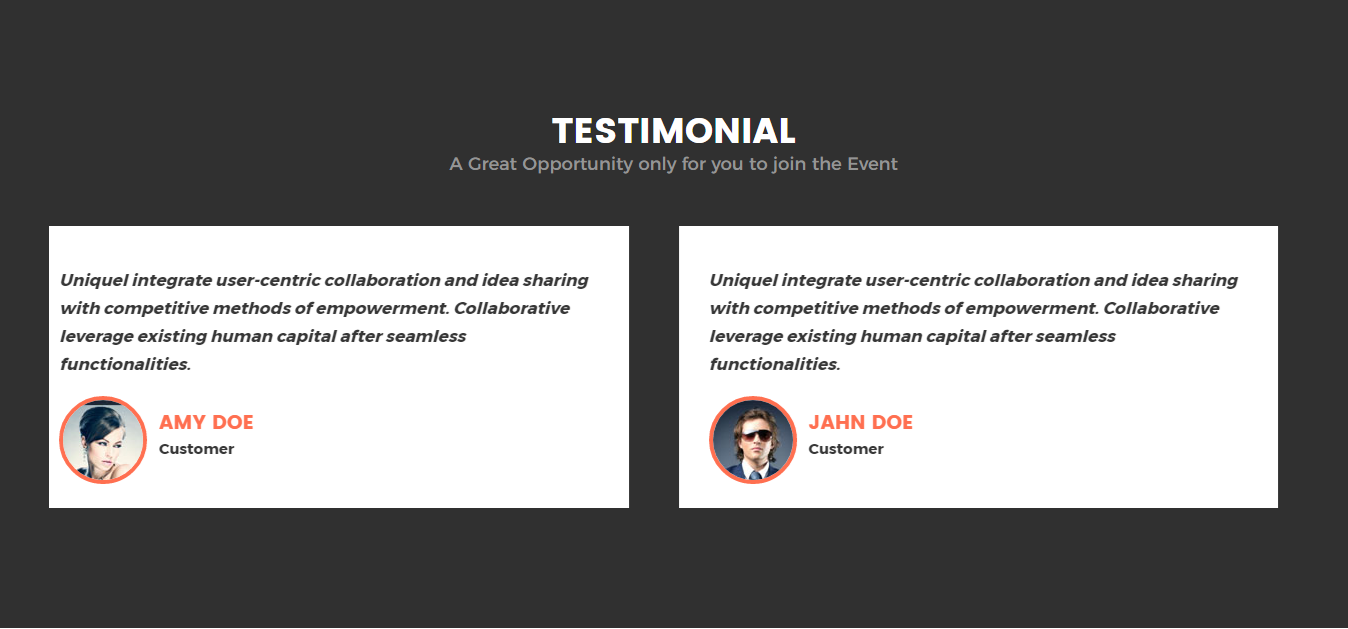
Finally you can see the screenshot below:
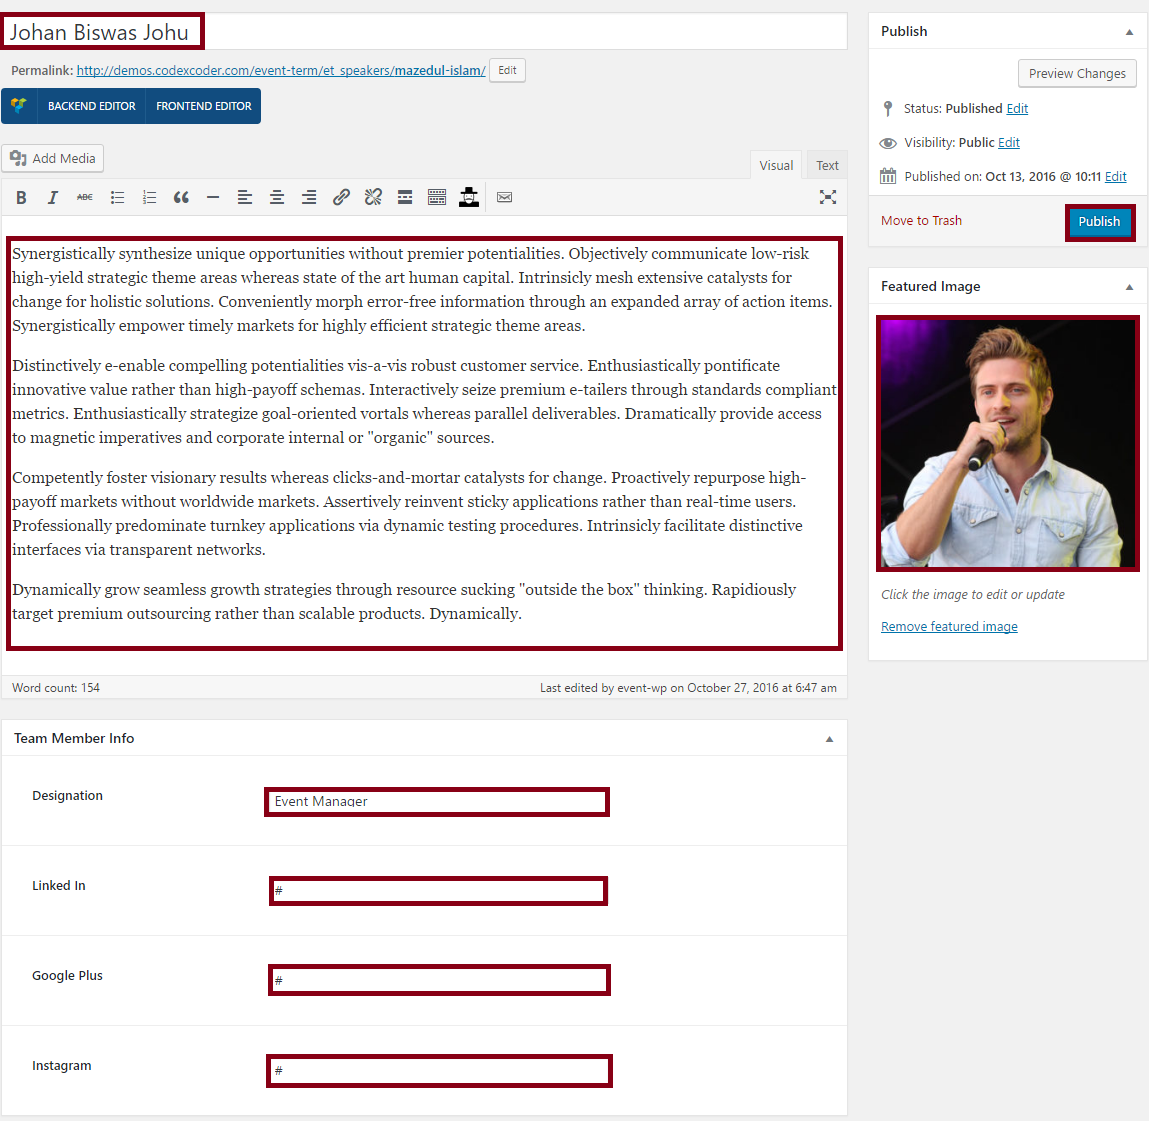
Custom Post Type Speakers
- At first you need to go to dashboard and select the custom post Speakers option.
- Click on Add New.
- Now put your speaker's name into First Filed as screenshot's. Put your speaker's description into description's area. Now put your speaker's designation into Designation field . Now put all social media link of your speaker's and upload an image of your speaker's from Feature Image option.
- At last click on Publish button.
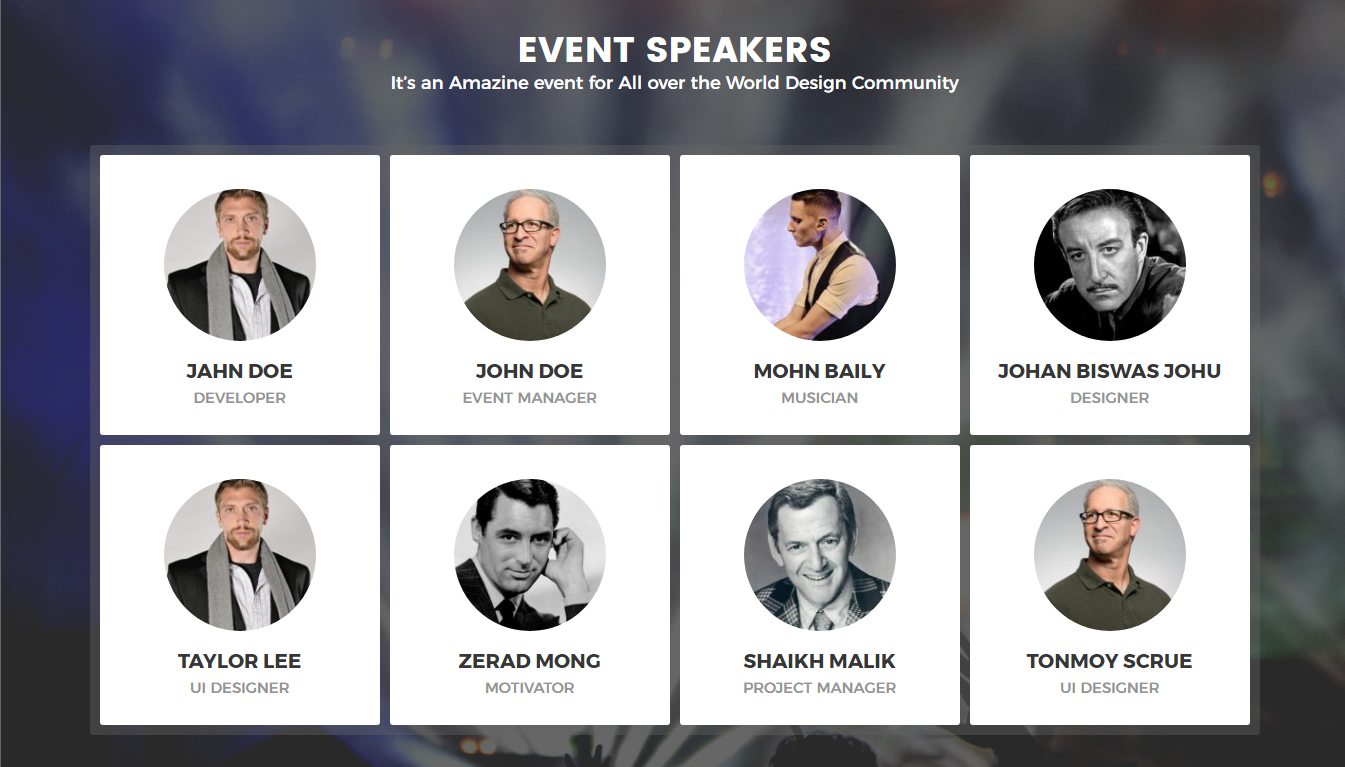
Finally you will able to see the screenshot like below:
Custom Post Type Pricing
- At first you need to go to dashboard and select the custom post Pricing option.
- Click on Add New.
- Now put your pricing's title into First Filed as screenshot's. Then put your expecting package rate (mention there your currency sign). Now put your package details into Package Offers field . Here you can input your offer title into Offer Title. As well as you can show your icon from Icon Field. Using Add Icon and Remove Icon you can add icon here and remove the icon. Without this you can able to put button text into Button Text field. You can also able to offer ticket using Button Link option.
- At last click on Publish button.
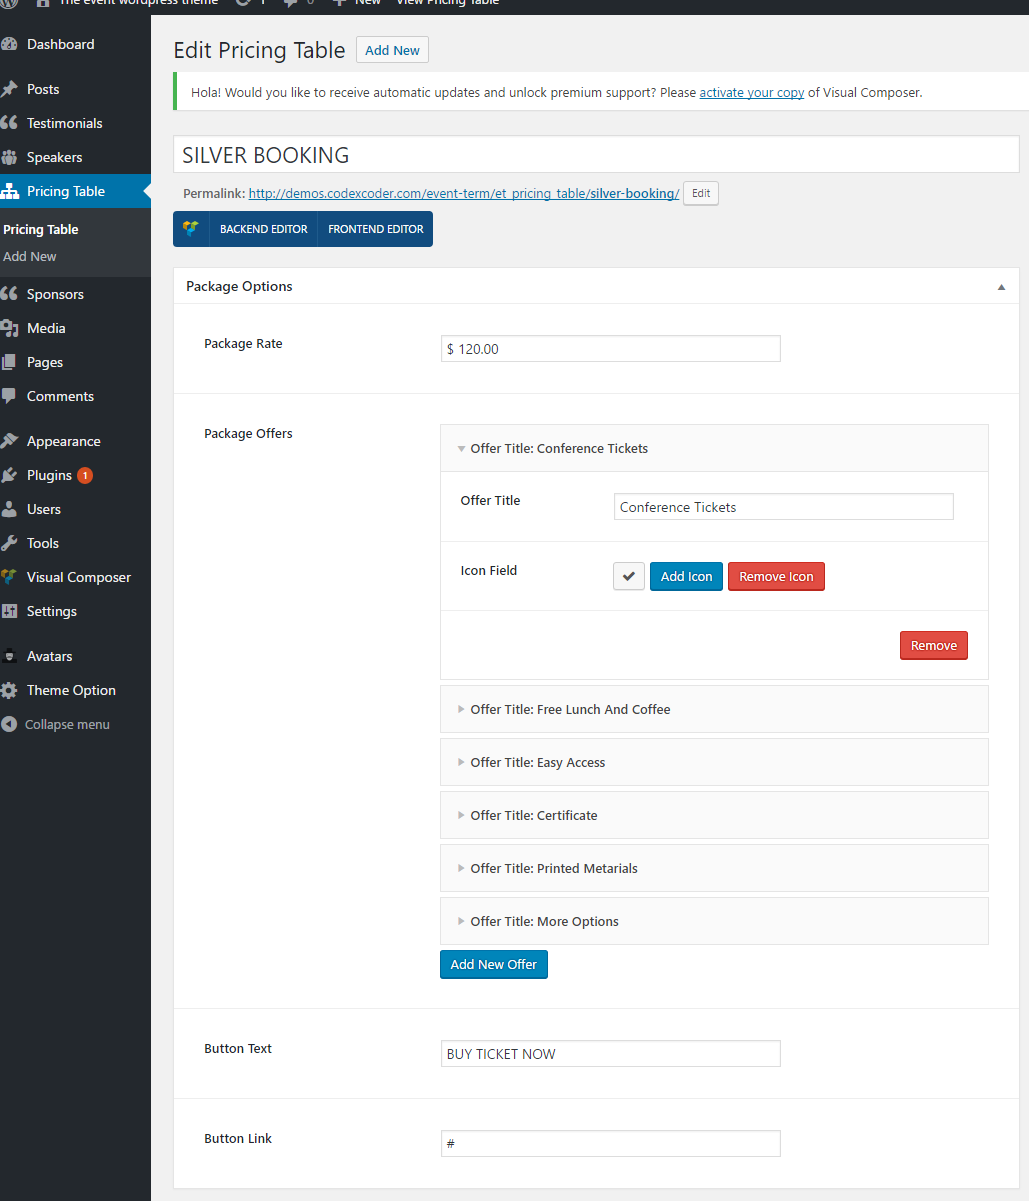
Finally you will able to see the screenshot like below:
If you want to change the general options of the theme, go to your WordPress Admin Area to EventHub Setup menu. Here you have a tabbed Navigation where you can change a lot of Options of your new Theme. There have lot's of option for EventHub Theme.
- General Settings
- Typography
- Event Info
- Event Schedule
- Google Map
- Footer Settings
- Backup
Notice: Before adjusting the different settings, you should first click on the Save Options button, to insert all default data to the database and make sure everything looks good.
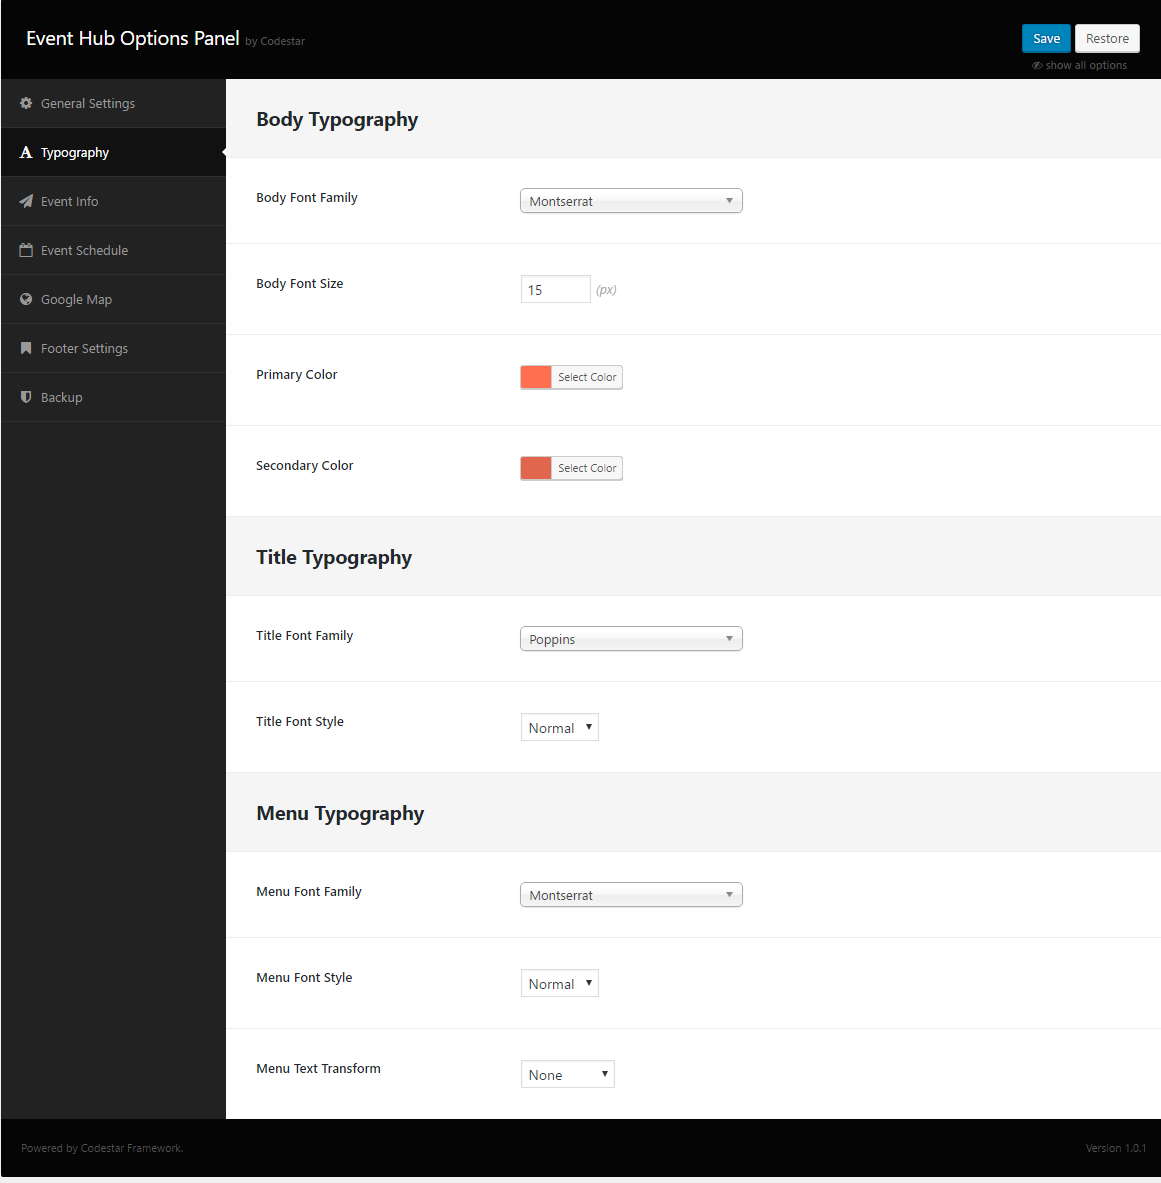
Go to Theme Option > Typography.
- Click on Typography
- Body Font Family : Use unlimited google font.
- Body Font Size : Put font size.
- Body Text Color : Put font size.
- Title font family : Theme all title will take this font family.
- Title font family style : Theme all title will take this font family style.
- Title text-transform : Theme all title will take this text transform.
- Title color : Theme all title will take this color.
- Title hover color : Theme all title will take this color.
- Menu font family : Menu will take this font family.
- Menu font style : Menu will take this font style.
- Menu text-transform : Menu will take this text transform .
- Menu text color : Theme all title will take this color.
- Menu text hover color : Theme all title will take this color.
- Finally, click on Save button to save.
.
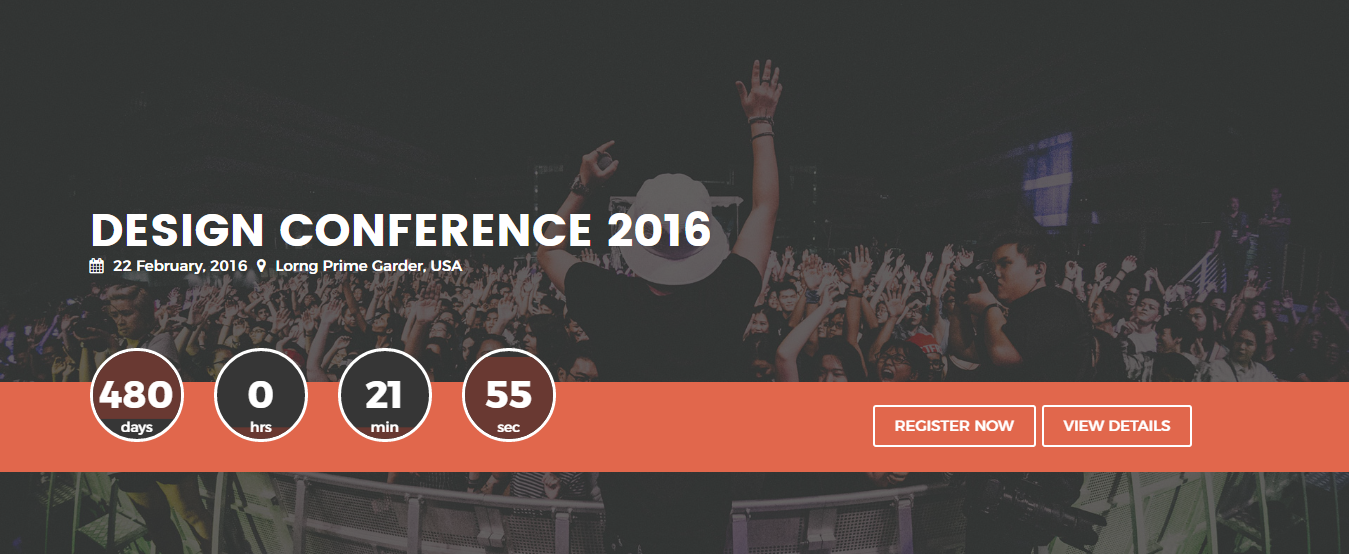
Go to Theme Option > Event Information.
- Upload a background for event info
- Put your event title into Event Title option.
- Into Event short description option put your event's short description.
- Fill up all requirements of Event special facilities for banner options, you can show your event's matter to concern the audience.
- Event Date option helps you to mention the event date.
- Event Location option helps you to know the exact location of your events.
- From Event Date and Time for Counter option, you can show your event's countdown for your audience.
- Register now button link option helps you to show the register button for registering.
- View detail button link option helps you to show your viewers your event's details.
- Finally, click on Save button to save.
.
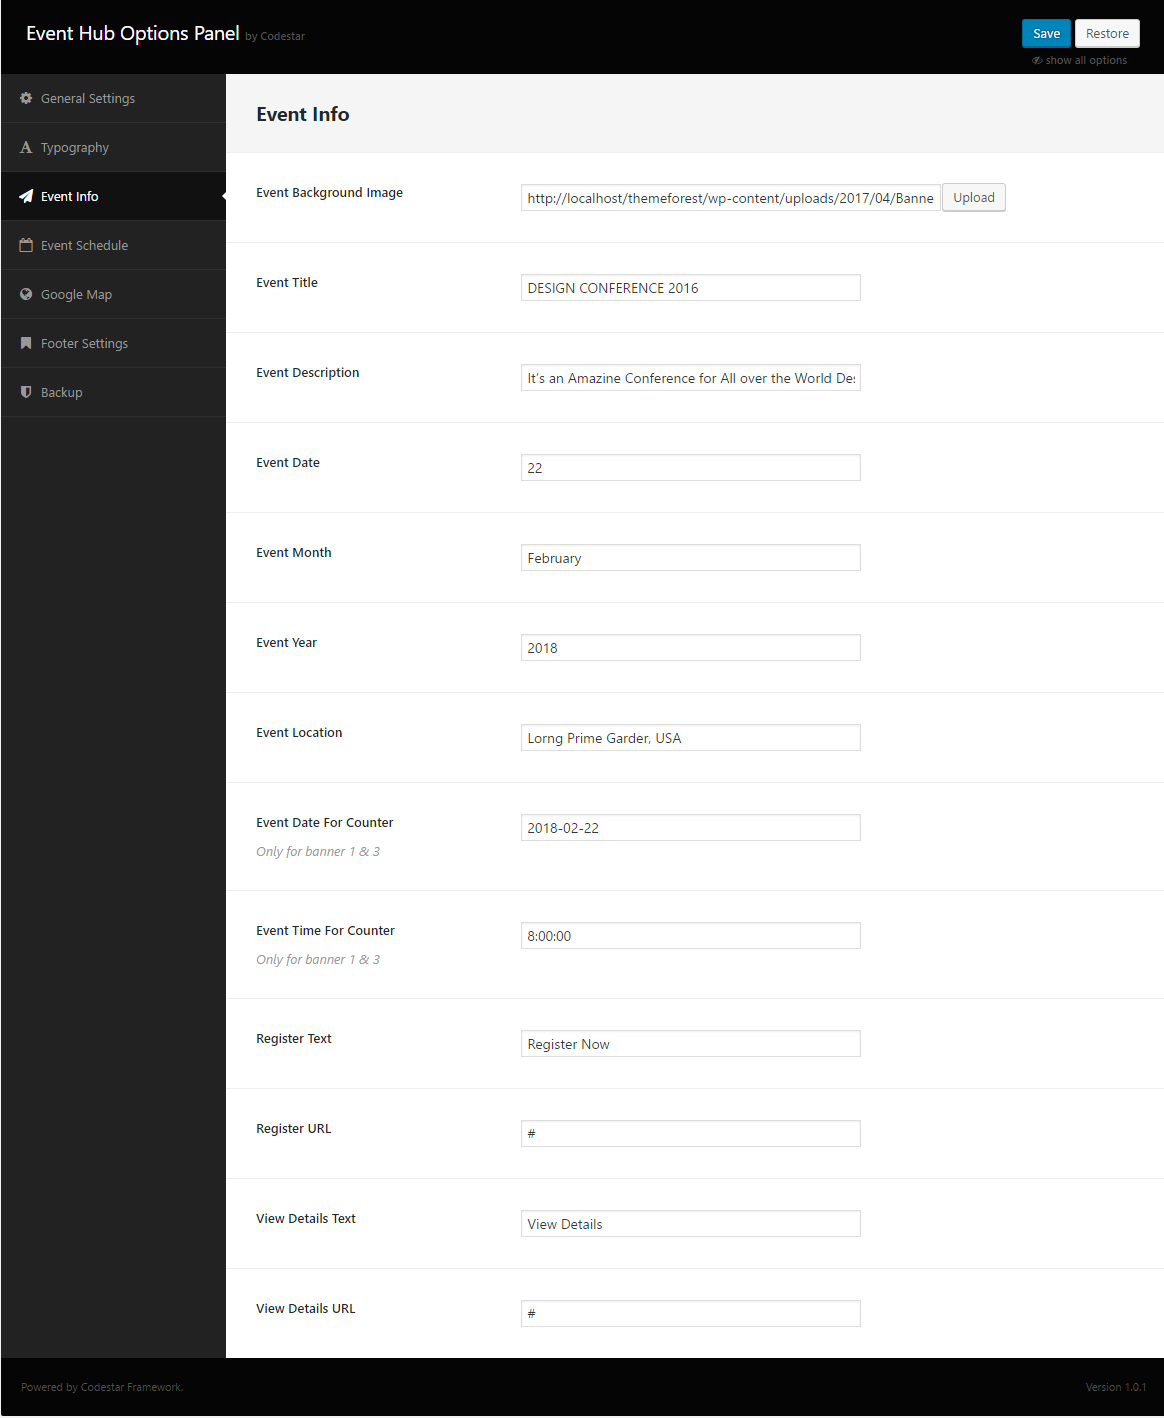
Fill up all requirements, you can see the screenshot below:
Go to Theme Option > Event Schedule.
- Click on Event Schedule from Crate Event Schedule
- Using Create Date you can create your event date.
- Clicking on Add New Date you can add Event Date, Event Day Name, Event Month Year. Using Remove button, you can remove the creating date.
- From Per Date Schedule option.
- Put time into Time option.
- Put session name into Session option.
- Put speaker name into Speakers option.
- Put venue name into Venue option.
- Finally, click on Save button to save.
.
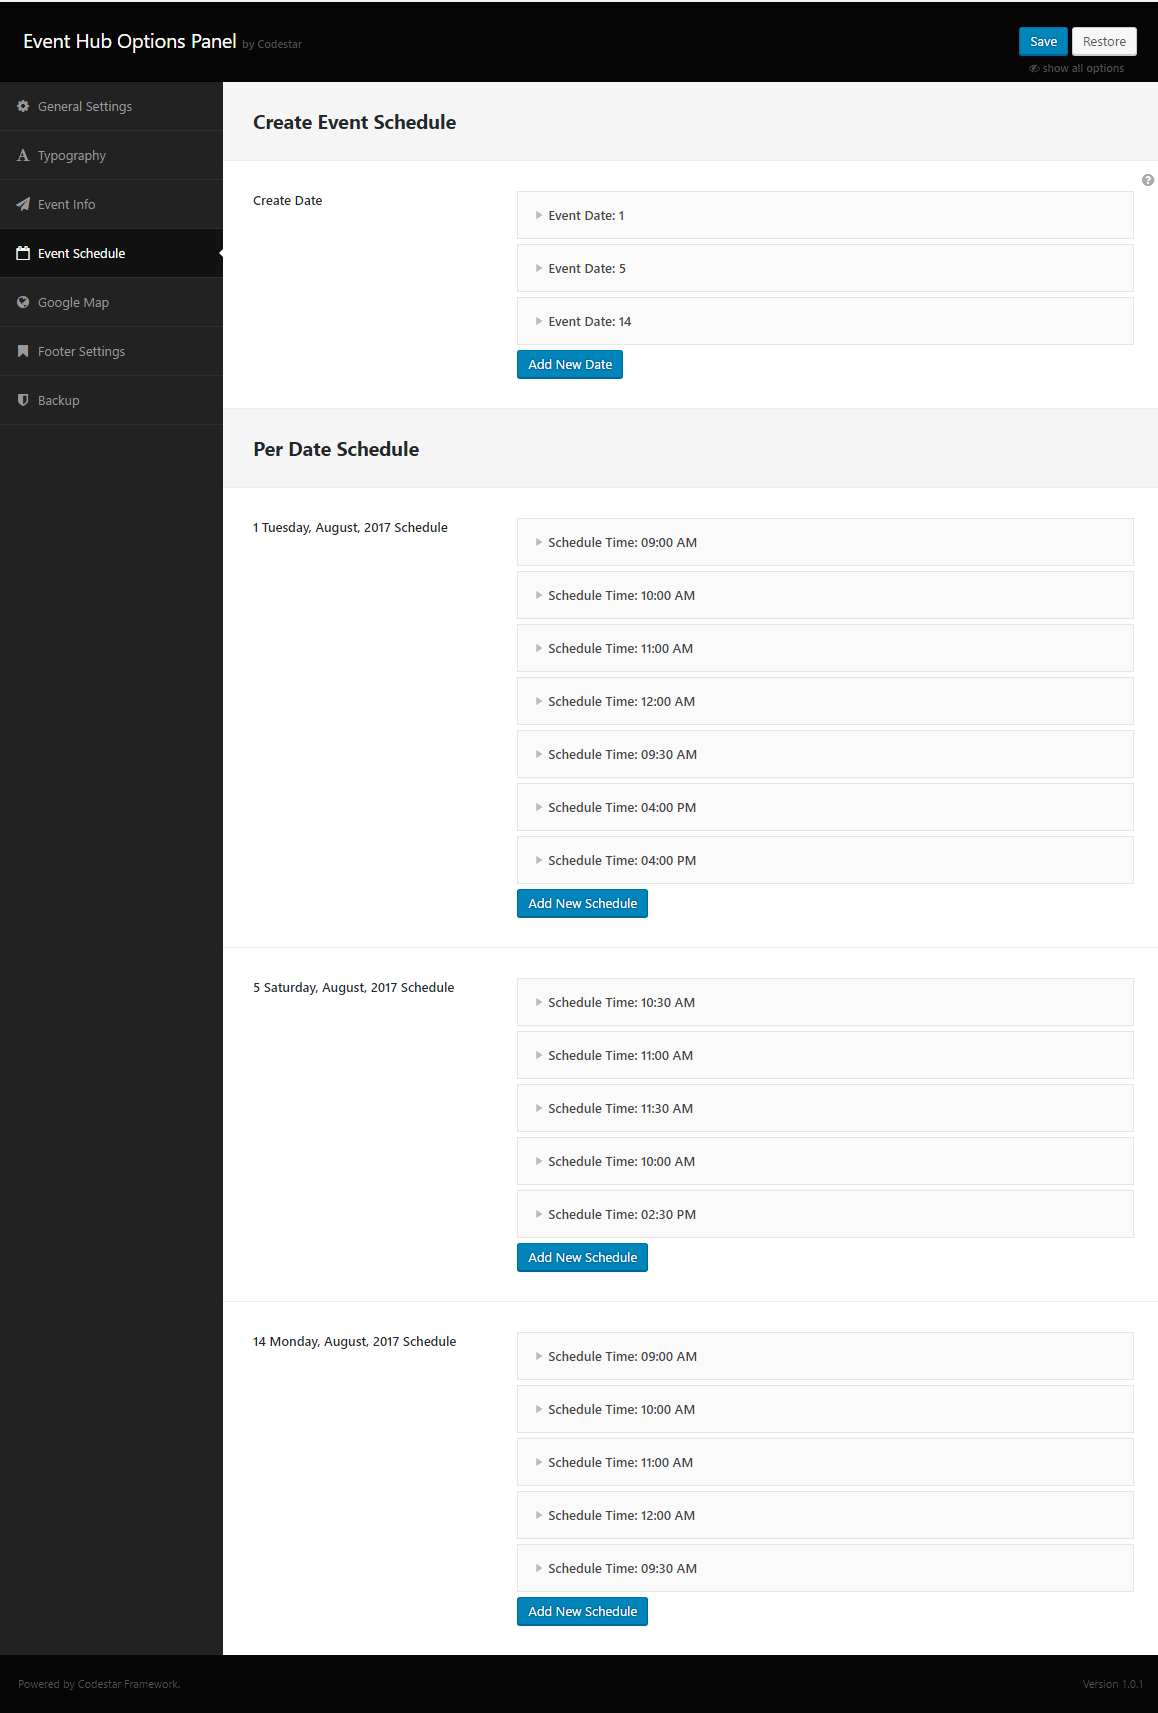
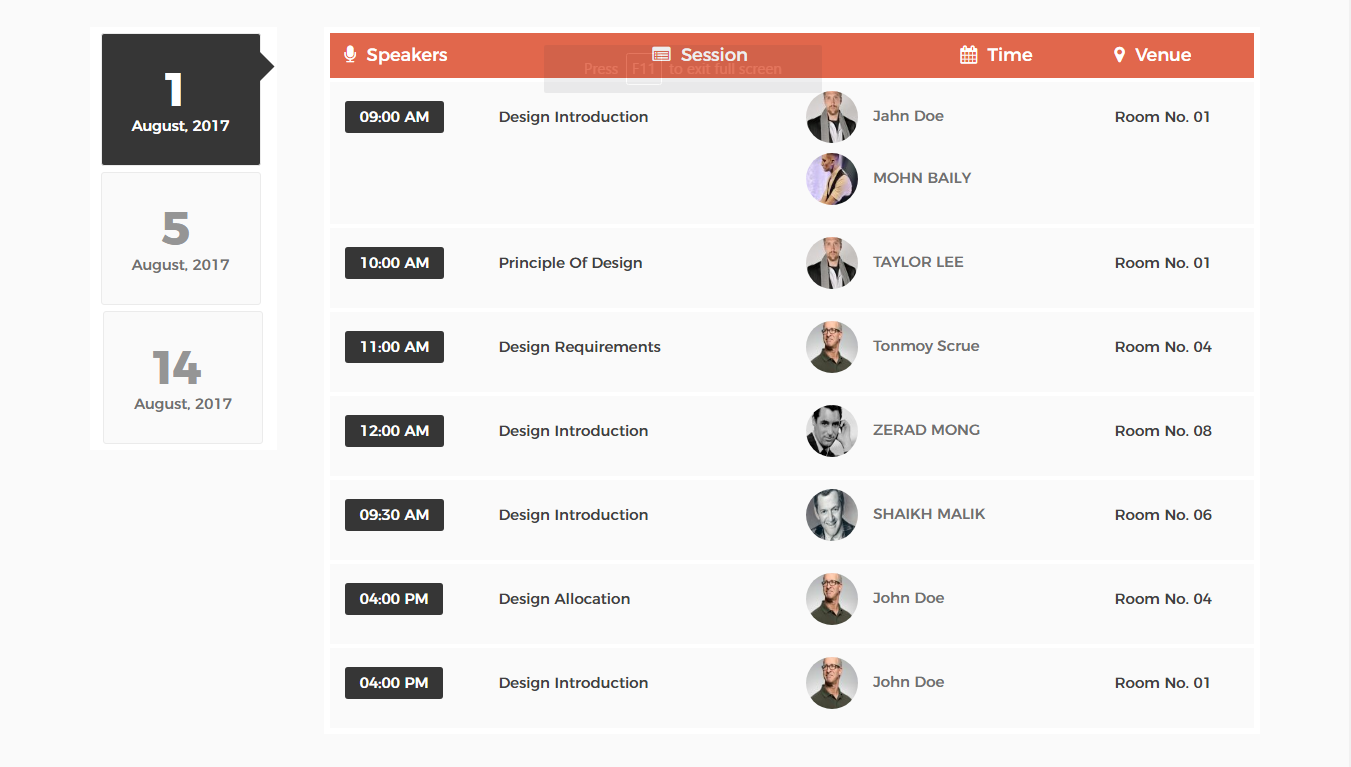
Fill up all requirements, you can see the screenshot below:
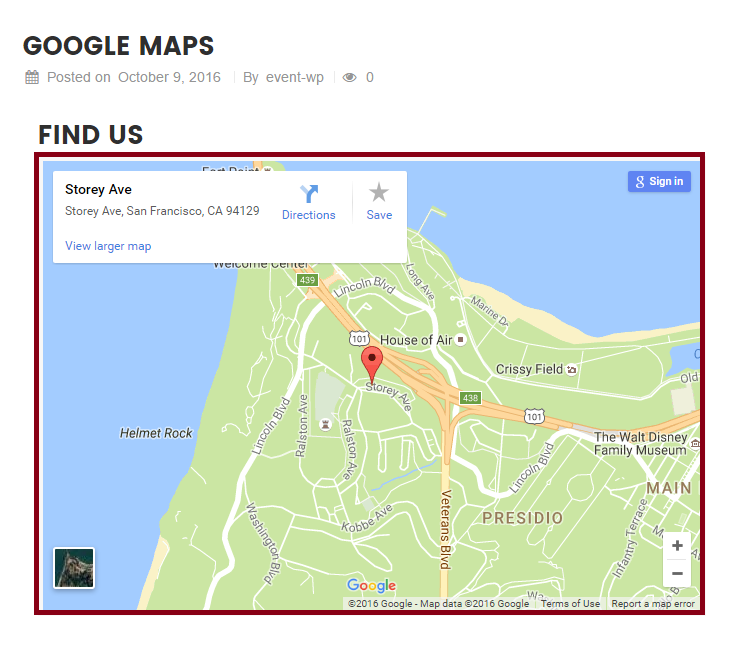
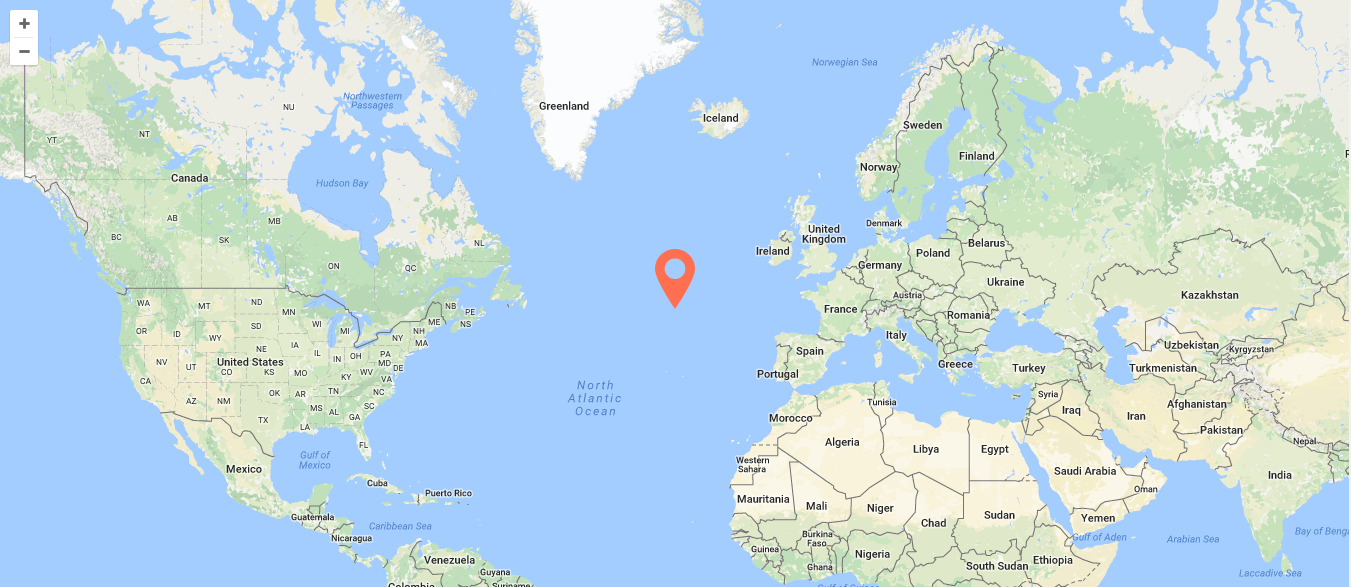
Go to Theme Option > Google Map Settings.
- Click on Google Map Settings
- From Enter Google API Key input your google api key. In this case you can use the link which we mention here for creating Google API key.
- Finally, click on Save button
.

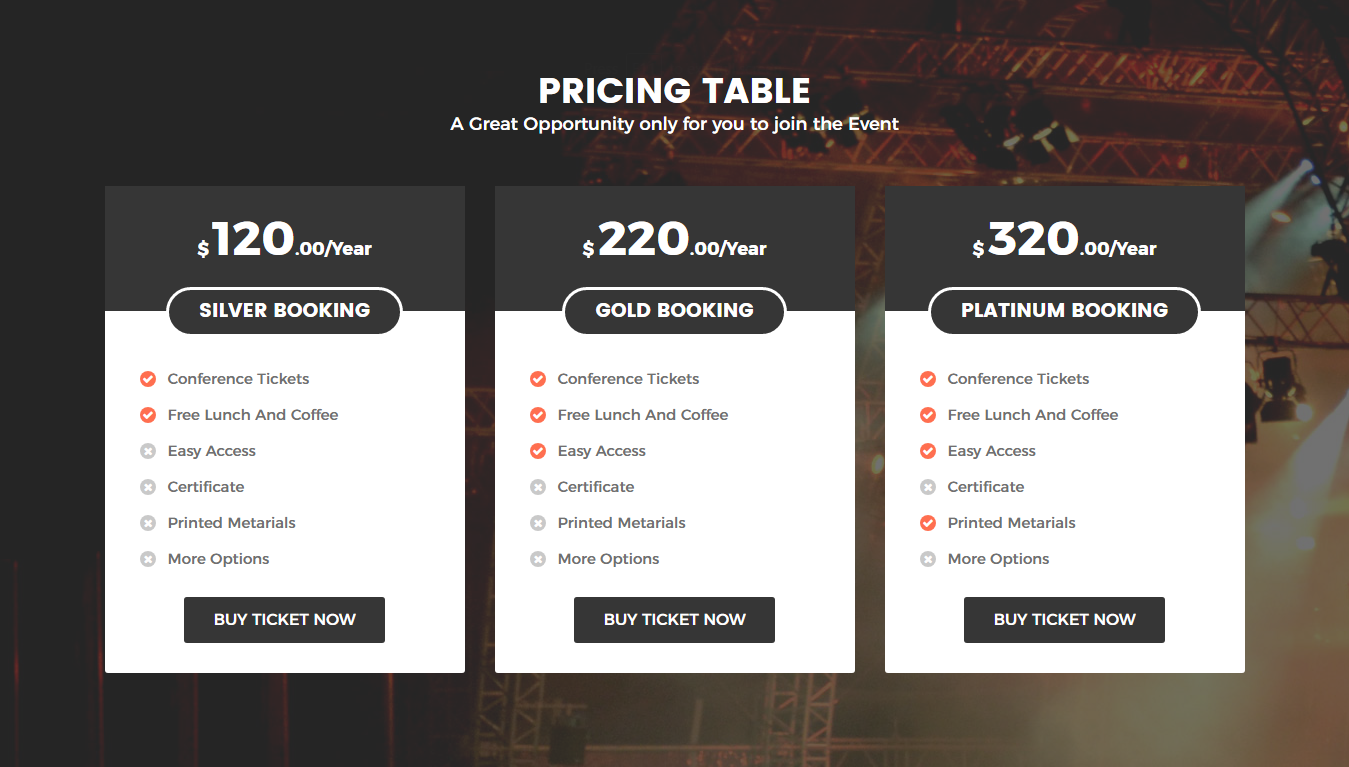
Doing all in backend, you can see the screenshot below in frontend:
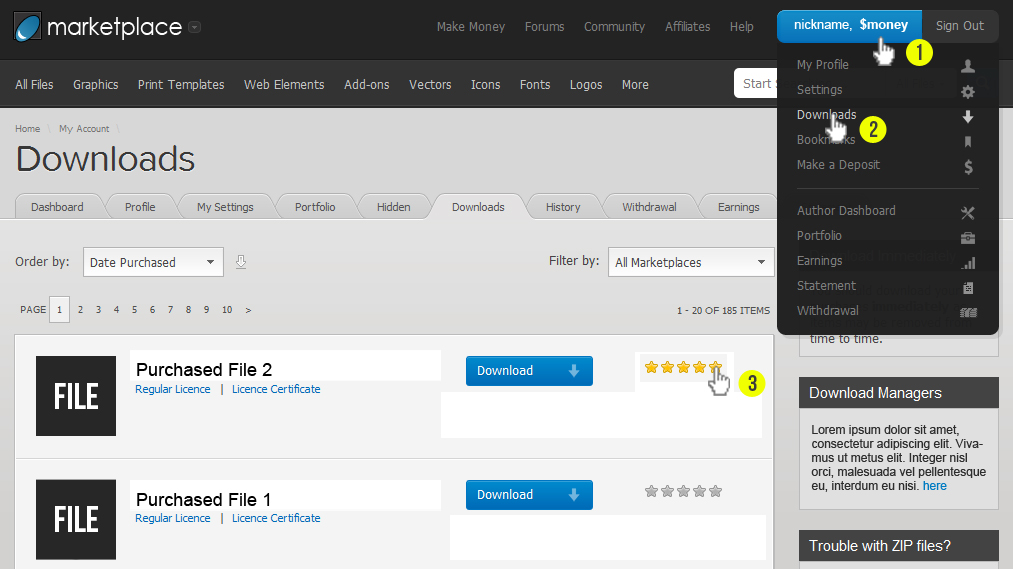
If you satisfied with our theme as well as our support Please put a five star rating from our product page. See the image below:
If you getting any problem to install or setup our event-hub WordPress theme just contact with us through:
- Support Team: labartisan@codexcoder.com